Quickstart - On-Premise
Overview
This page covers how to get started with Scurid Platform with on-premise deployment.
Info
Scurid platform consists of three main components :
- Scurid Edge Agent and MicroScurid-C SDK
- Scurid Server
- Desktop App (mobile app coming soon)
Interested in Managed deployment ?
If you are interested in Managed deployment, raise your request here Support
Downloads
Navigate to Getting Started to download the latest version of Scurid software components.
Service Agreement
By downloading Scurid Software you agree to the Service Agreement
Download Scurid Edge Agent
There are builds available for a variety of hardware and OS platforms. Download the appropriate build for your platform. Please check the download page for the latest supported platforms.
Download Scurid App
There are builds available for linux, macos and windows platforms. Download the appropriate build for your platform.
Download Scurid Server
Download the appropriate build for your platform from the downloads page. There are builds available for linux, macos and windows platforms.
- Create a config folder and inside create a config.yaml file, with following content
ServerCert: CommonName: example.com # domain name of the server Country: DK # country Province: Copenhagen # city Locality: Copenhagen # city Organization: Example ApS # name of the organization OrganizationalUnit: Software Team # name of the team EmailAddress: info@example.com # email address LifetimeDays: 90 # number of days the certificate is valid SubjectAlternativeNames: - "*.yourcompany.com" # Wildcard domain CertStorageDirectory: certs Monitoring: Port: 8081 # default, used by prometheus Address: localhost # default, used by prometheus - Open a terminal and execute the downloaded Server binary, ensure that the terminal is not closed
./<binary name> -config config/config.yaml
./<binary name-linux> -config config/config.yaml
./<binary name-darwin> -config config/config.yaml
.\<binary name-windows> -config config/config.yaml
Step 2 : Launching Scurid Server and App
This steps sets up the server and certain configurations that are needed in order to complete the user on-boarding process.
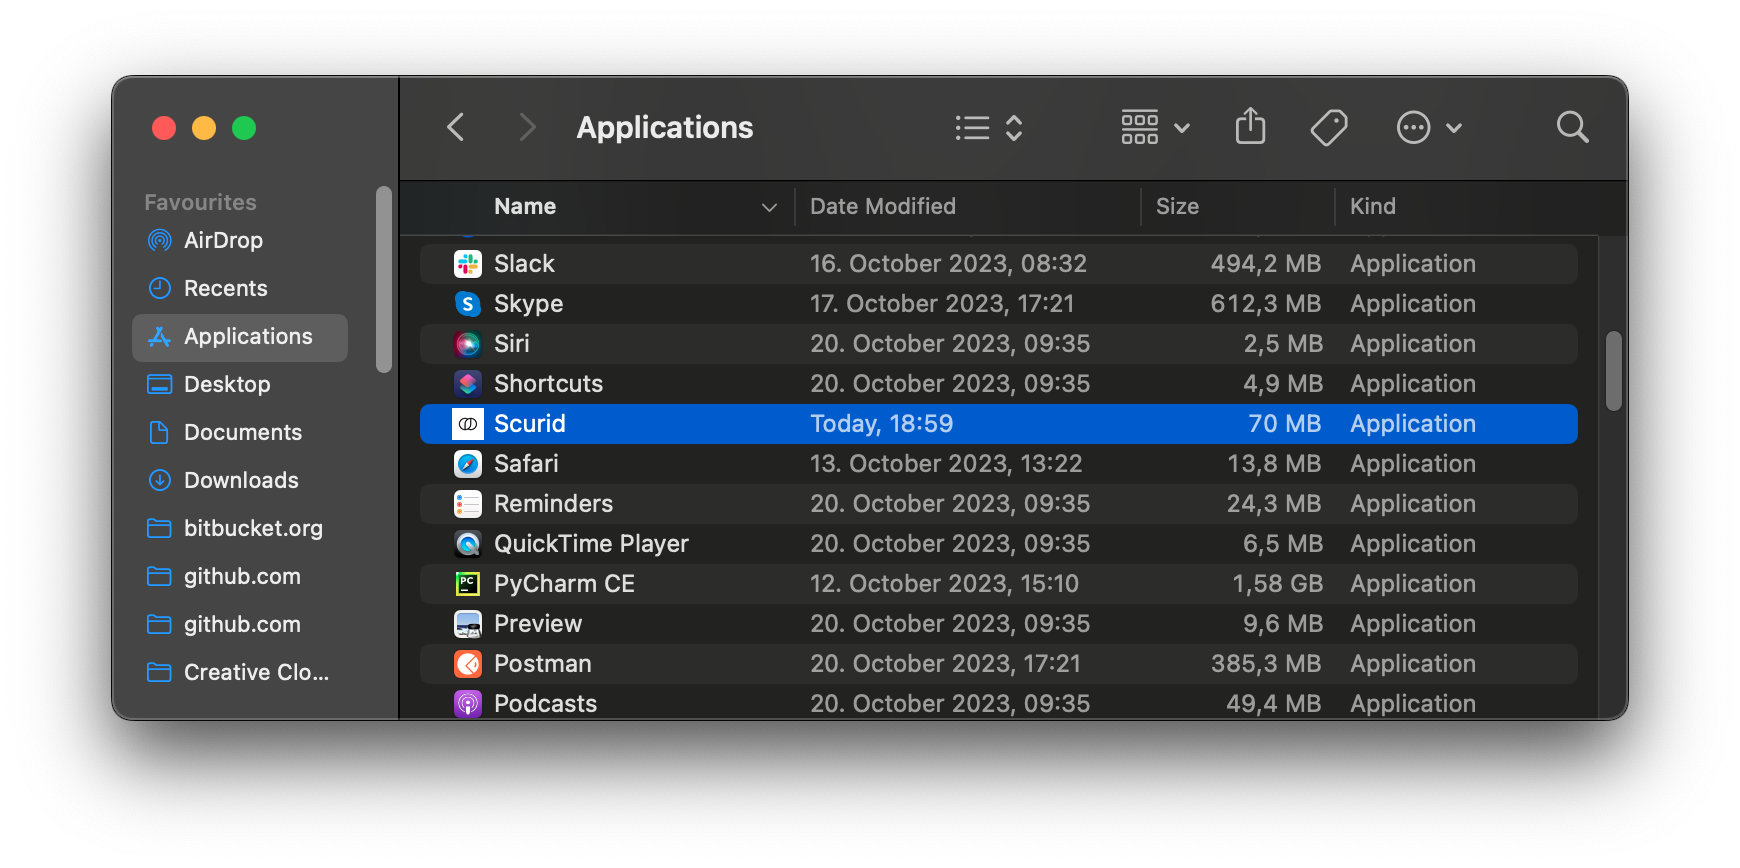
- Launch the Scurid App
- Select Create a new instance, fill in your valid email address and accept the terms of service to Sign up
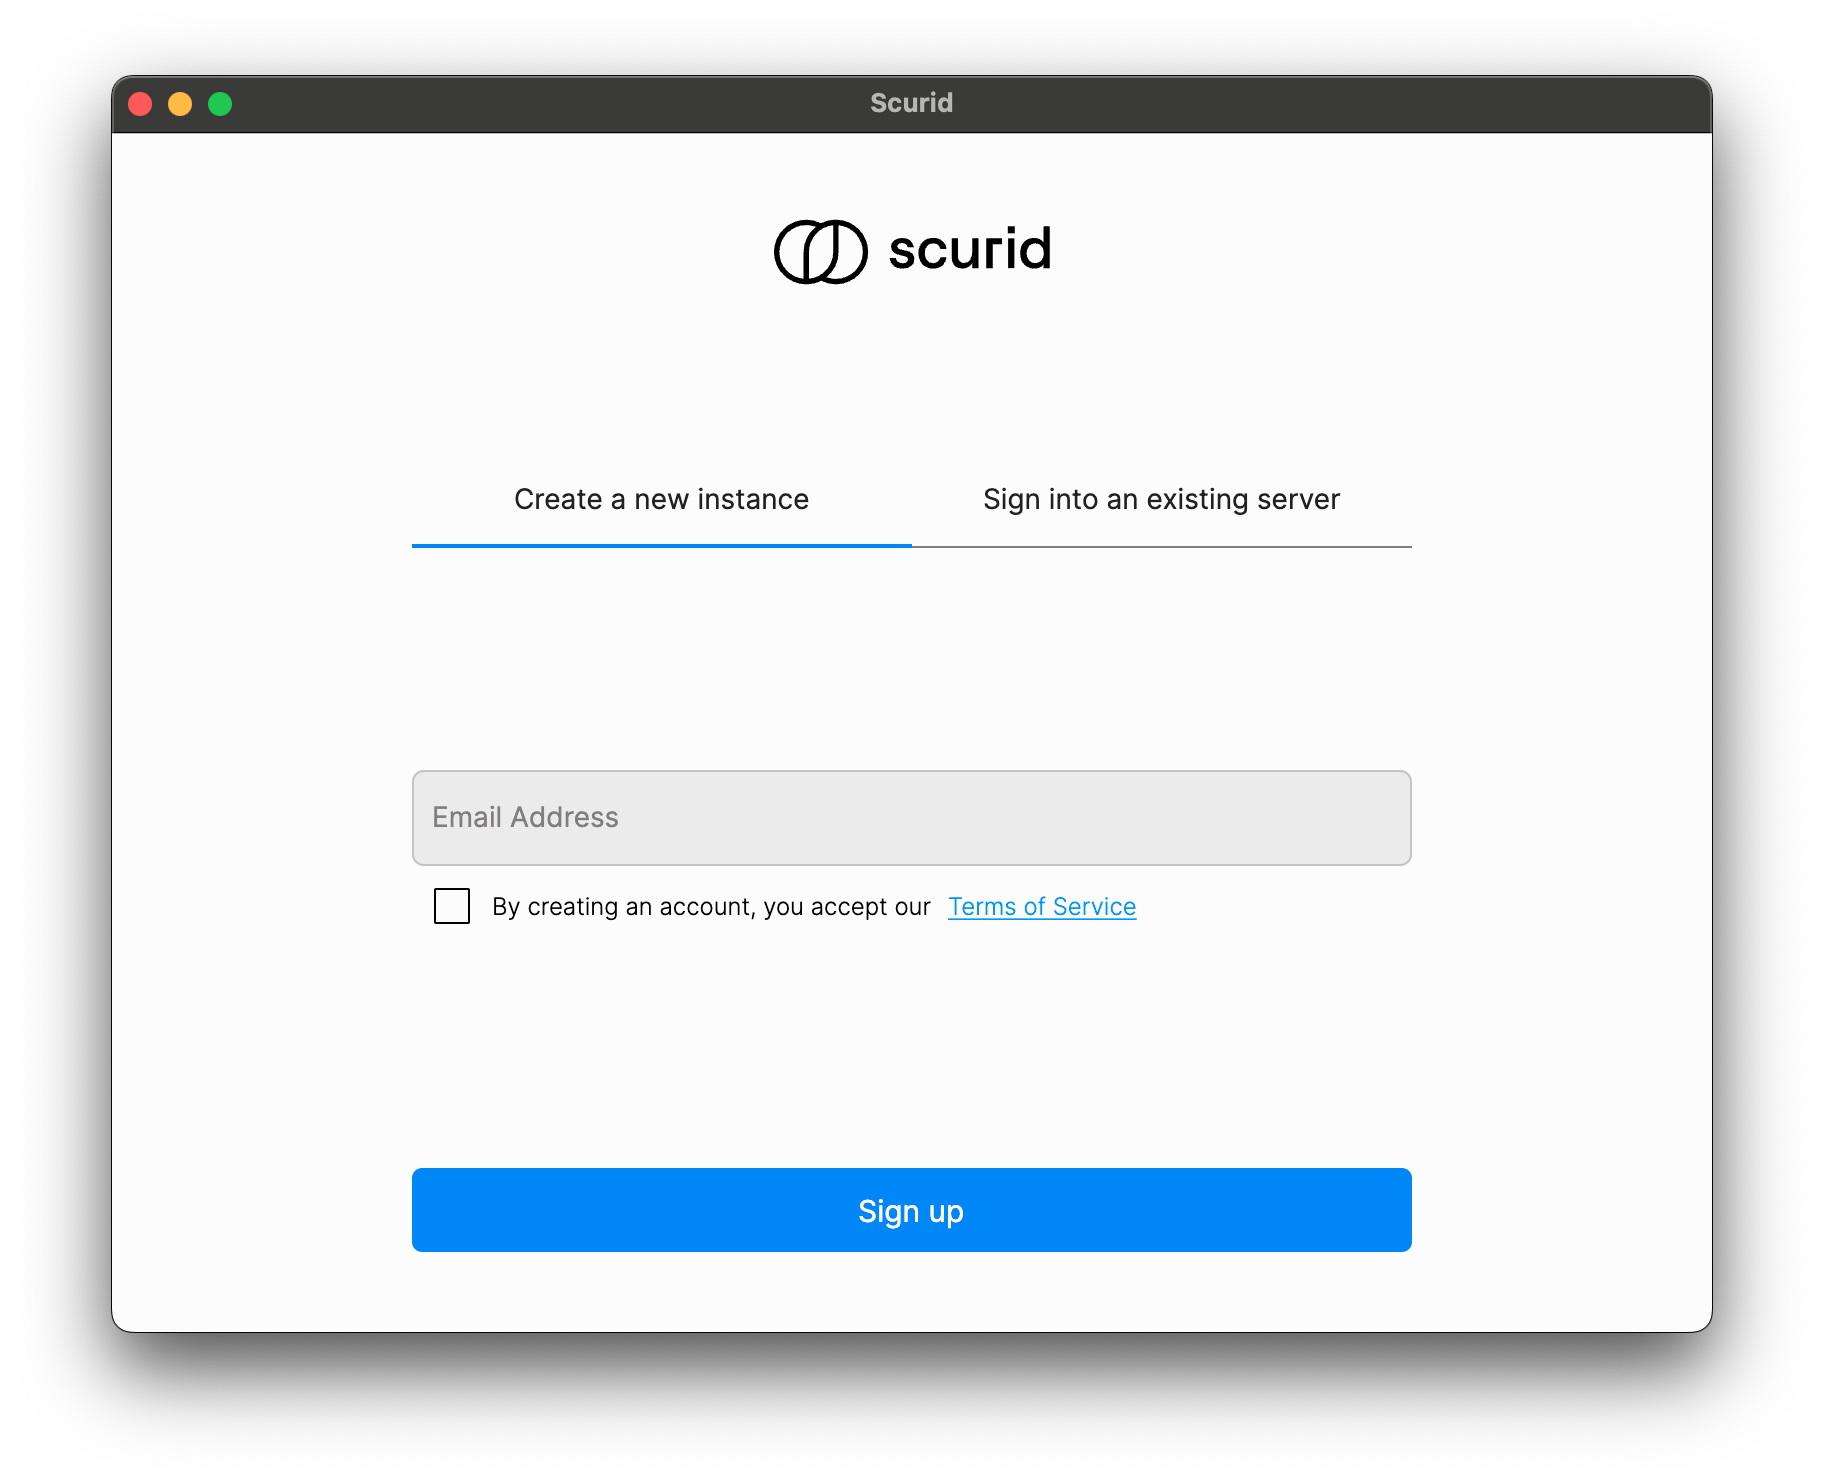
- Above step will email you with a code to verify your email
- On the next screen pick the best pricing plan that suits your need. Scurid offers a free plan for non production use.
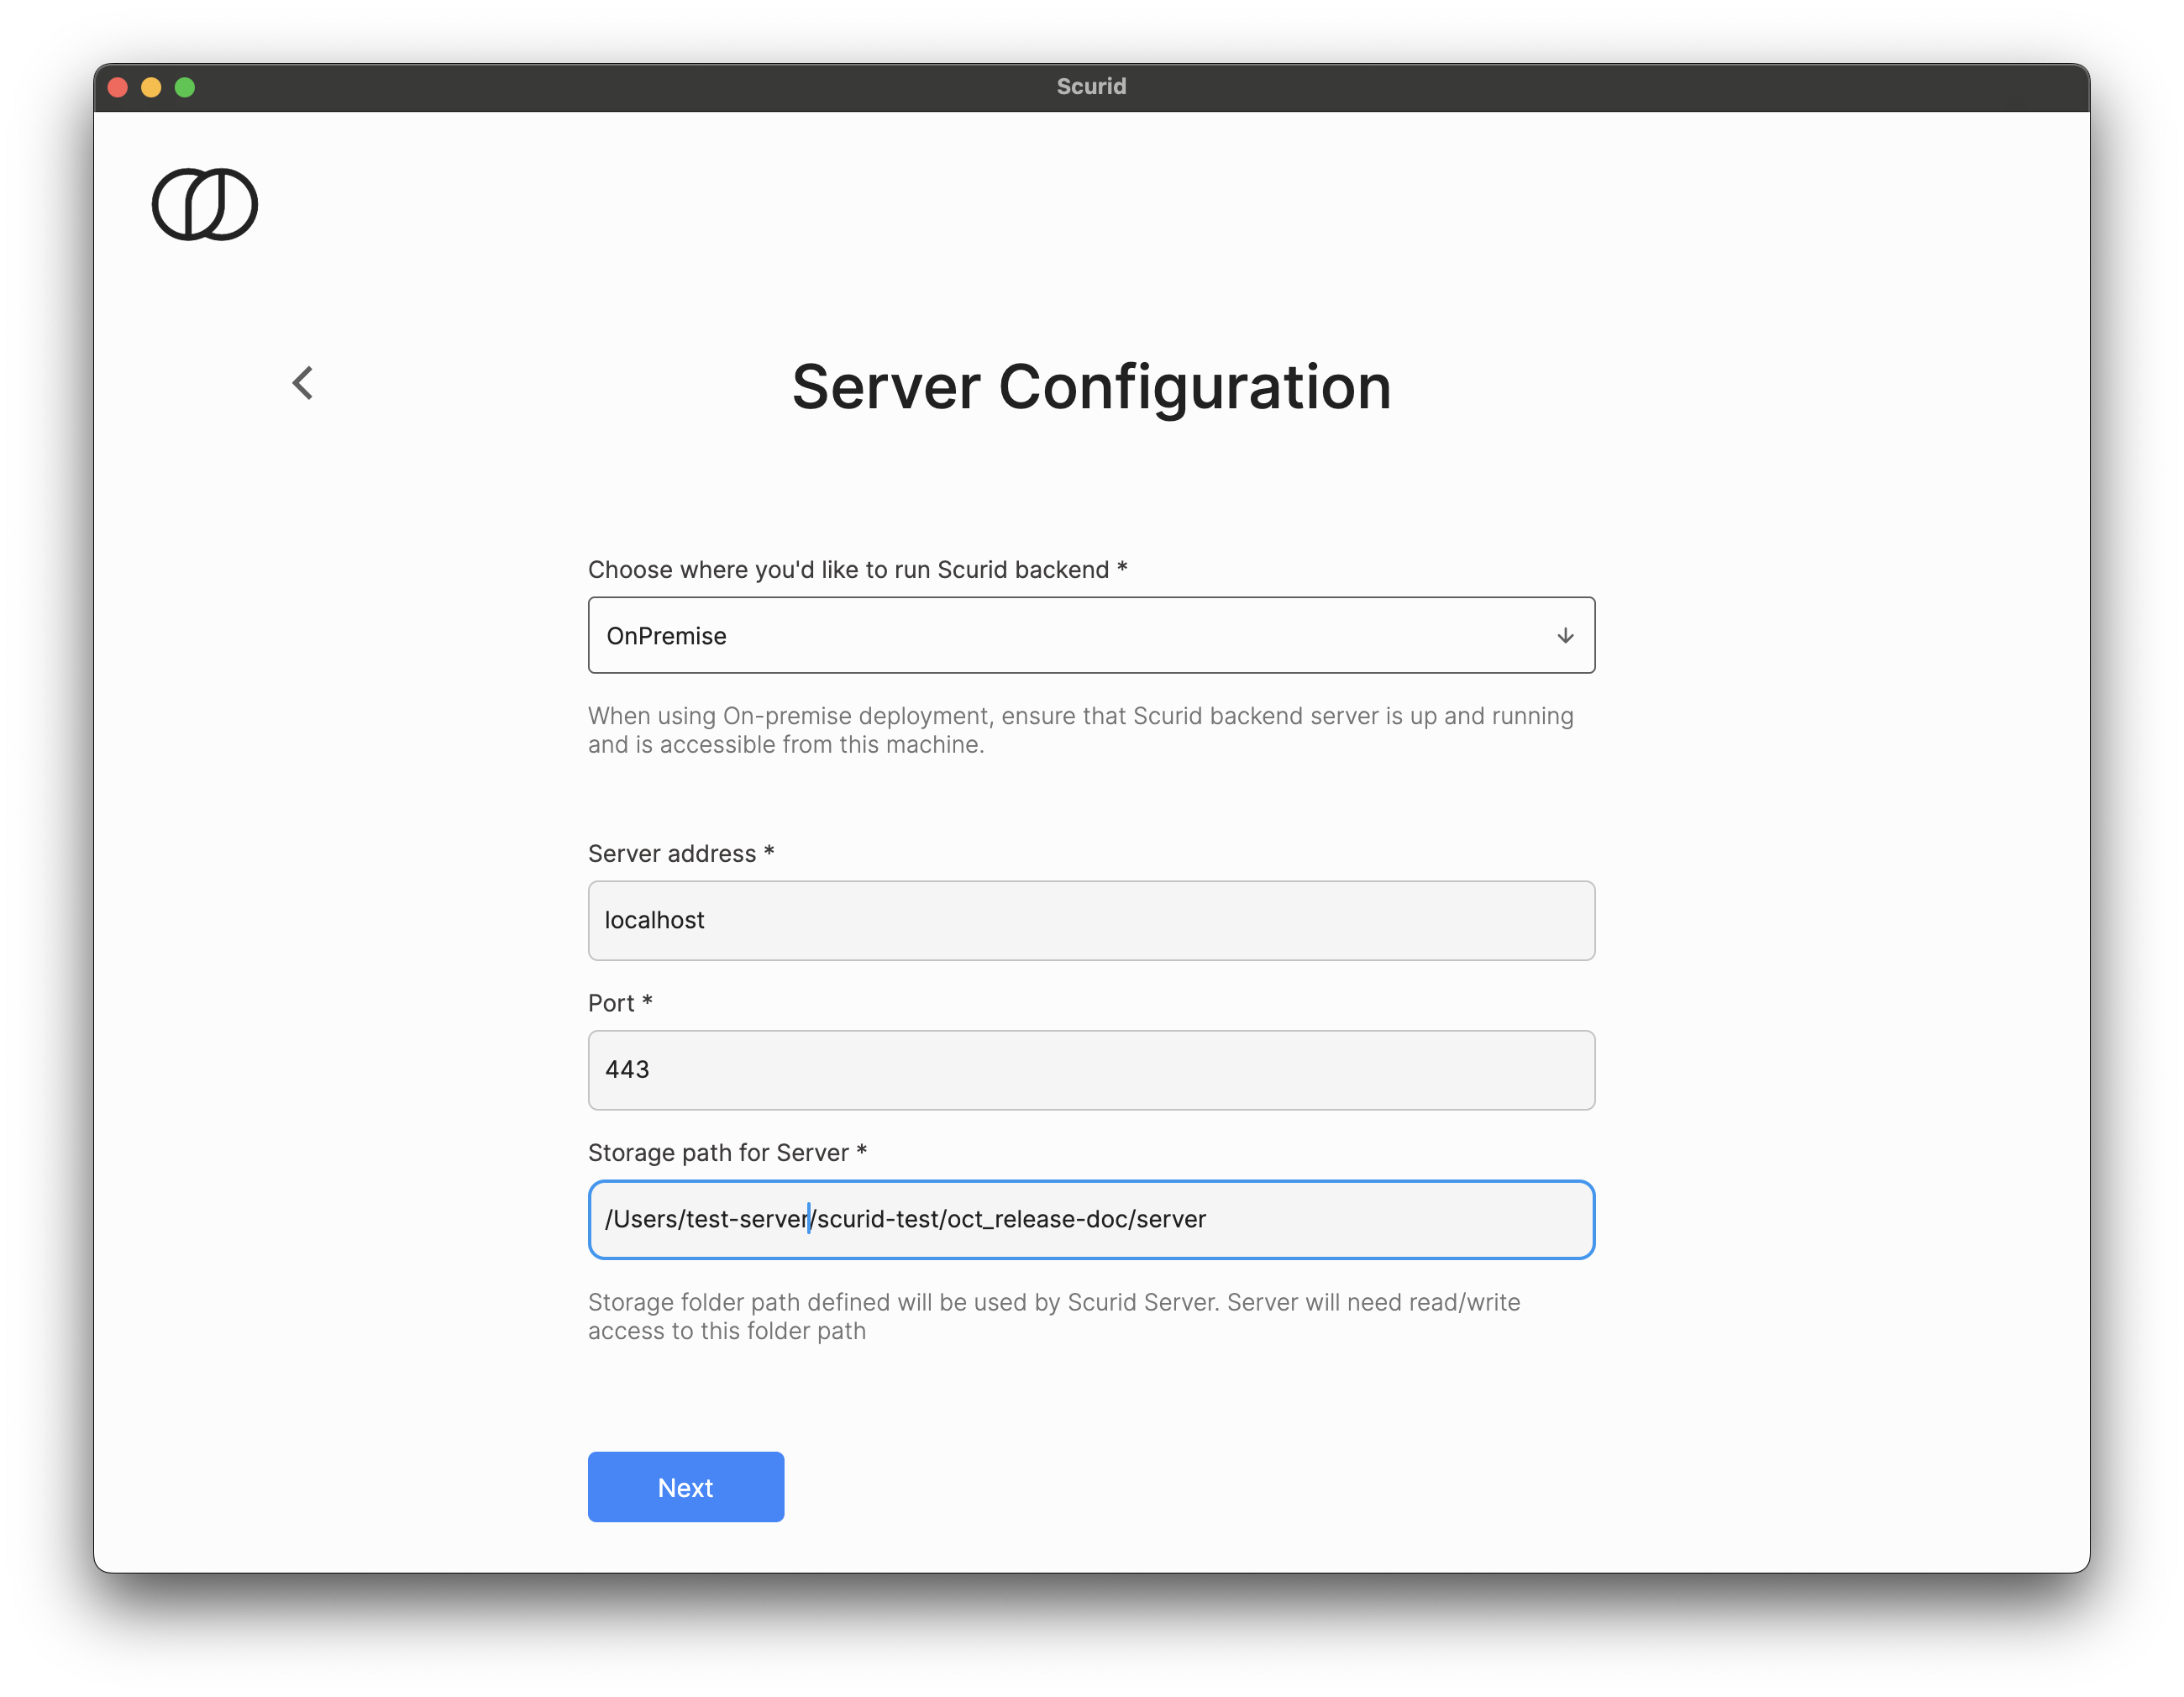
- Select On-Premise and fill in the required server address, port and storage directory where you'd like Scurid Server to persist its data
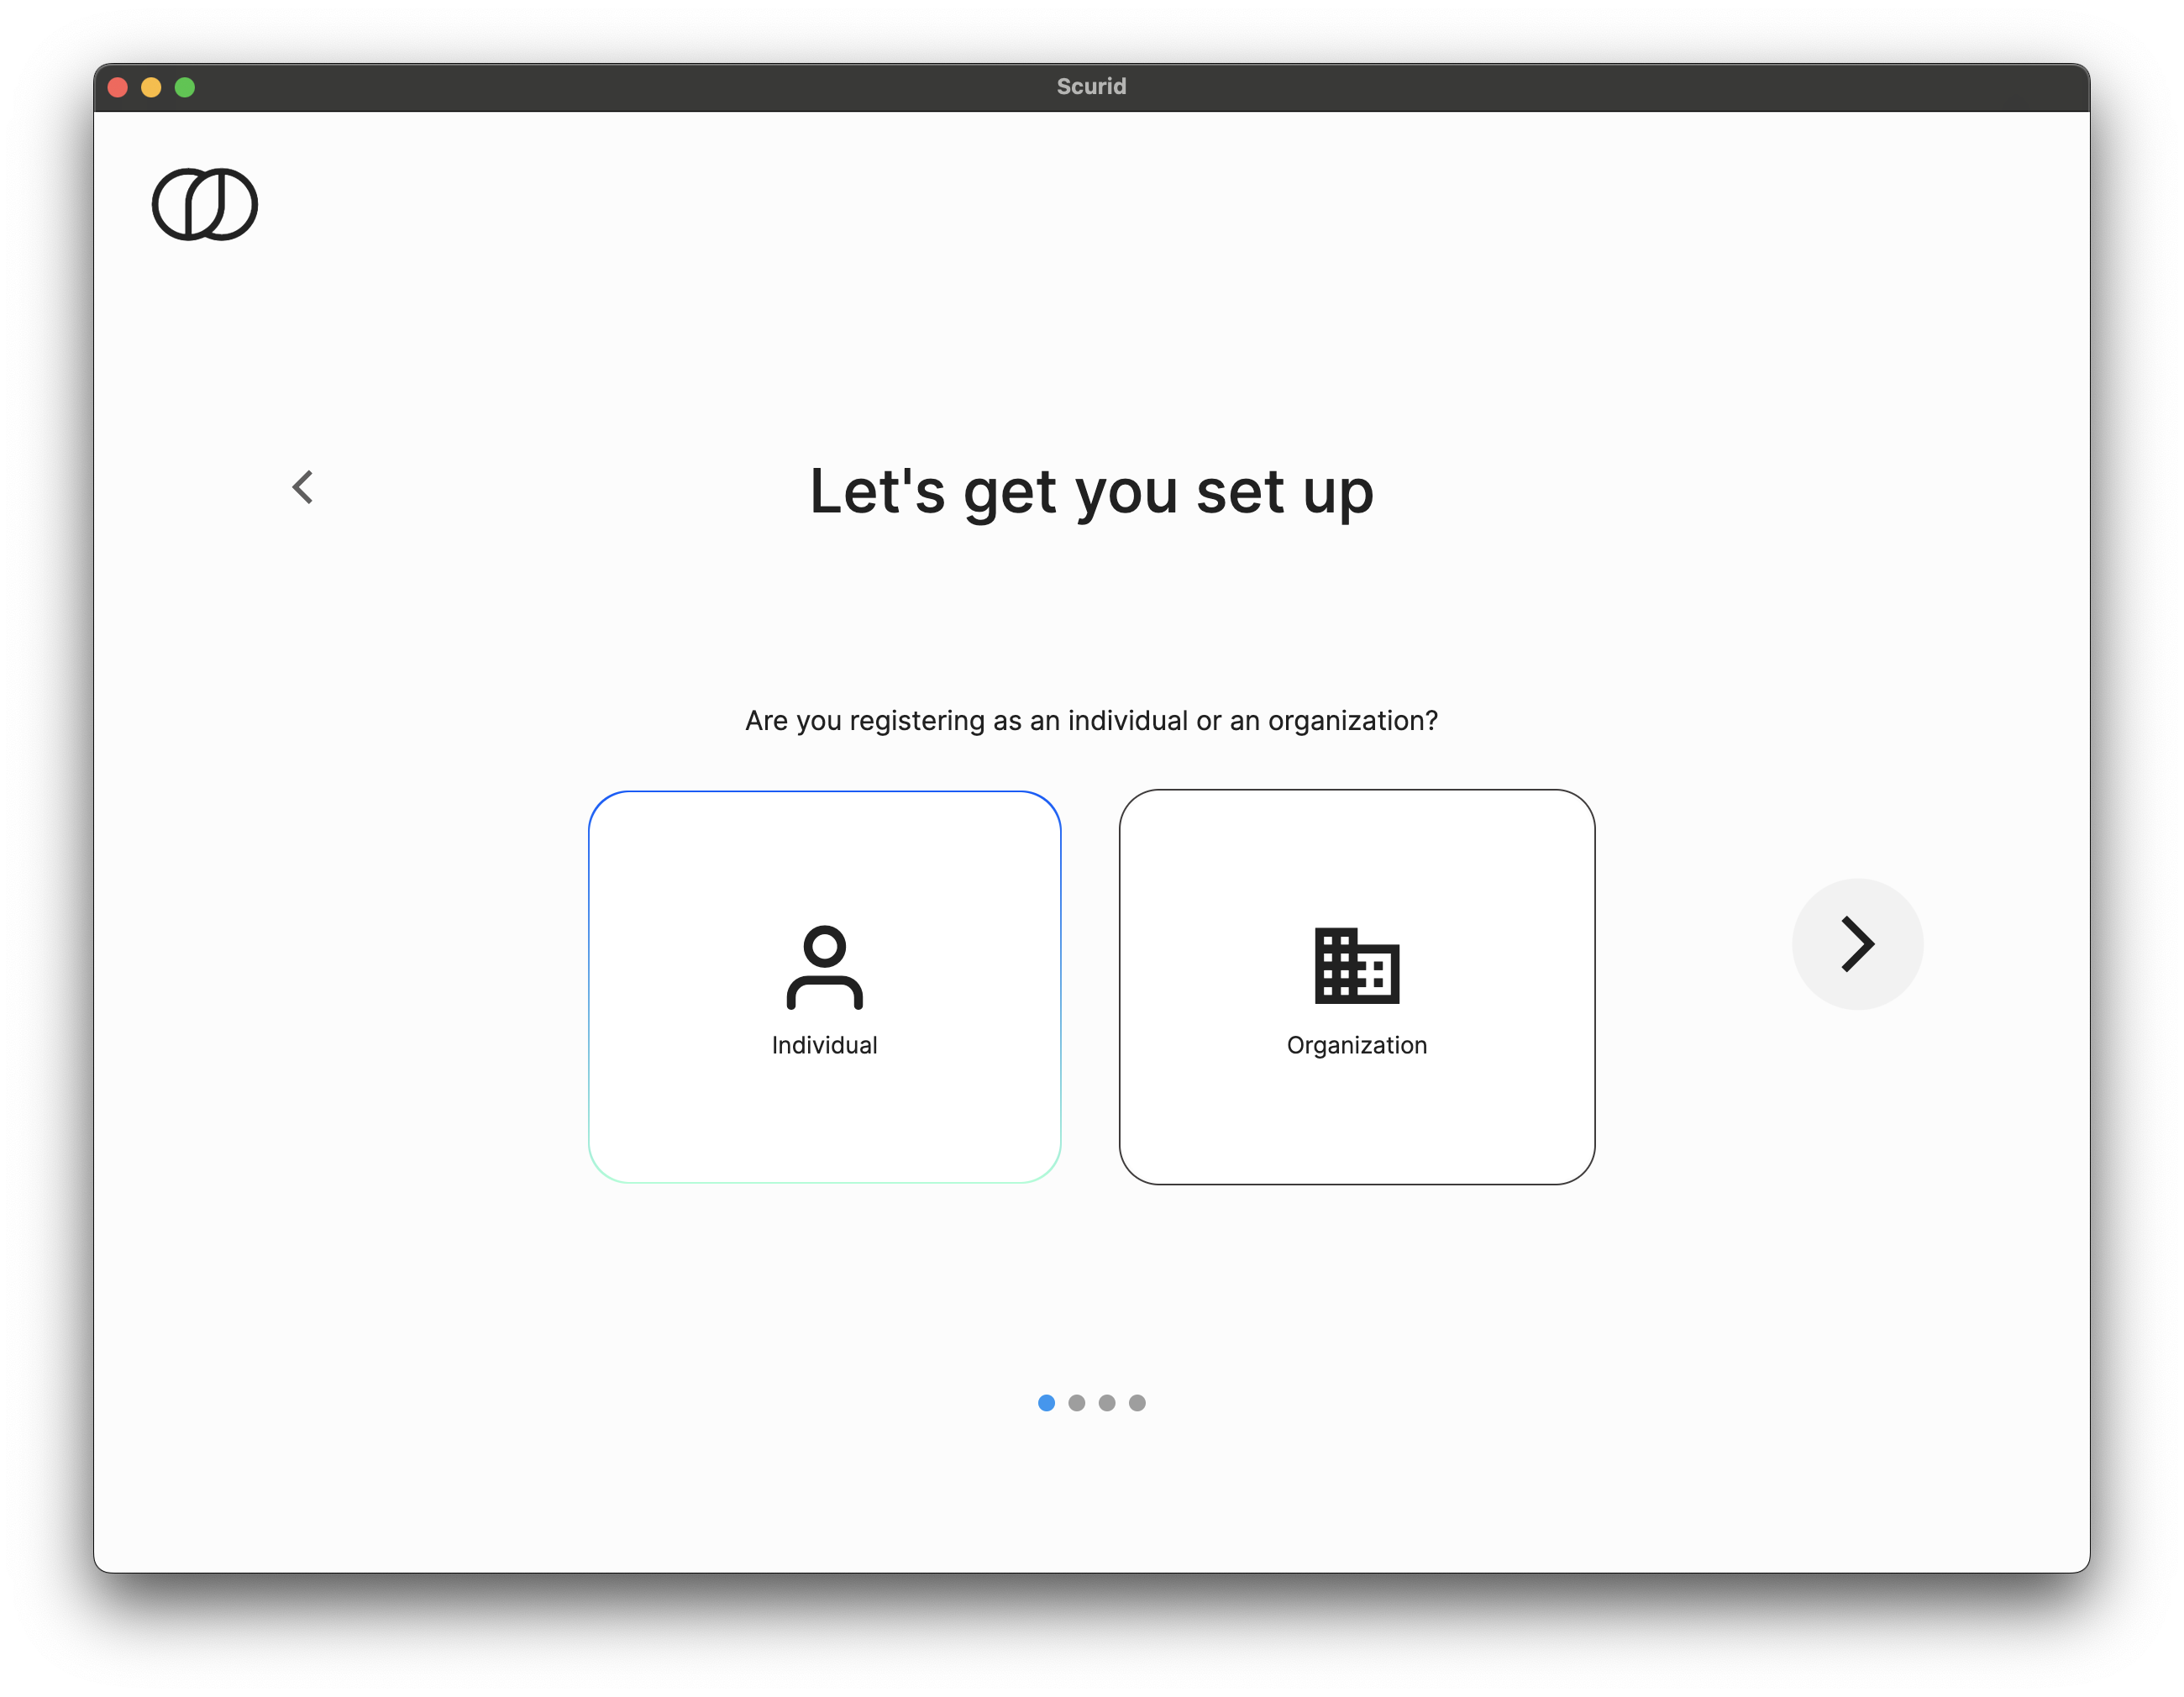
- Select User type and click next
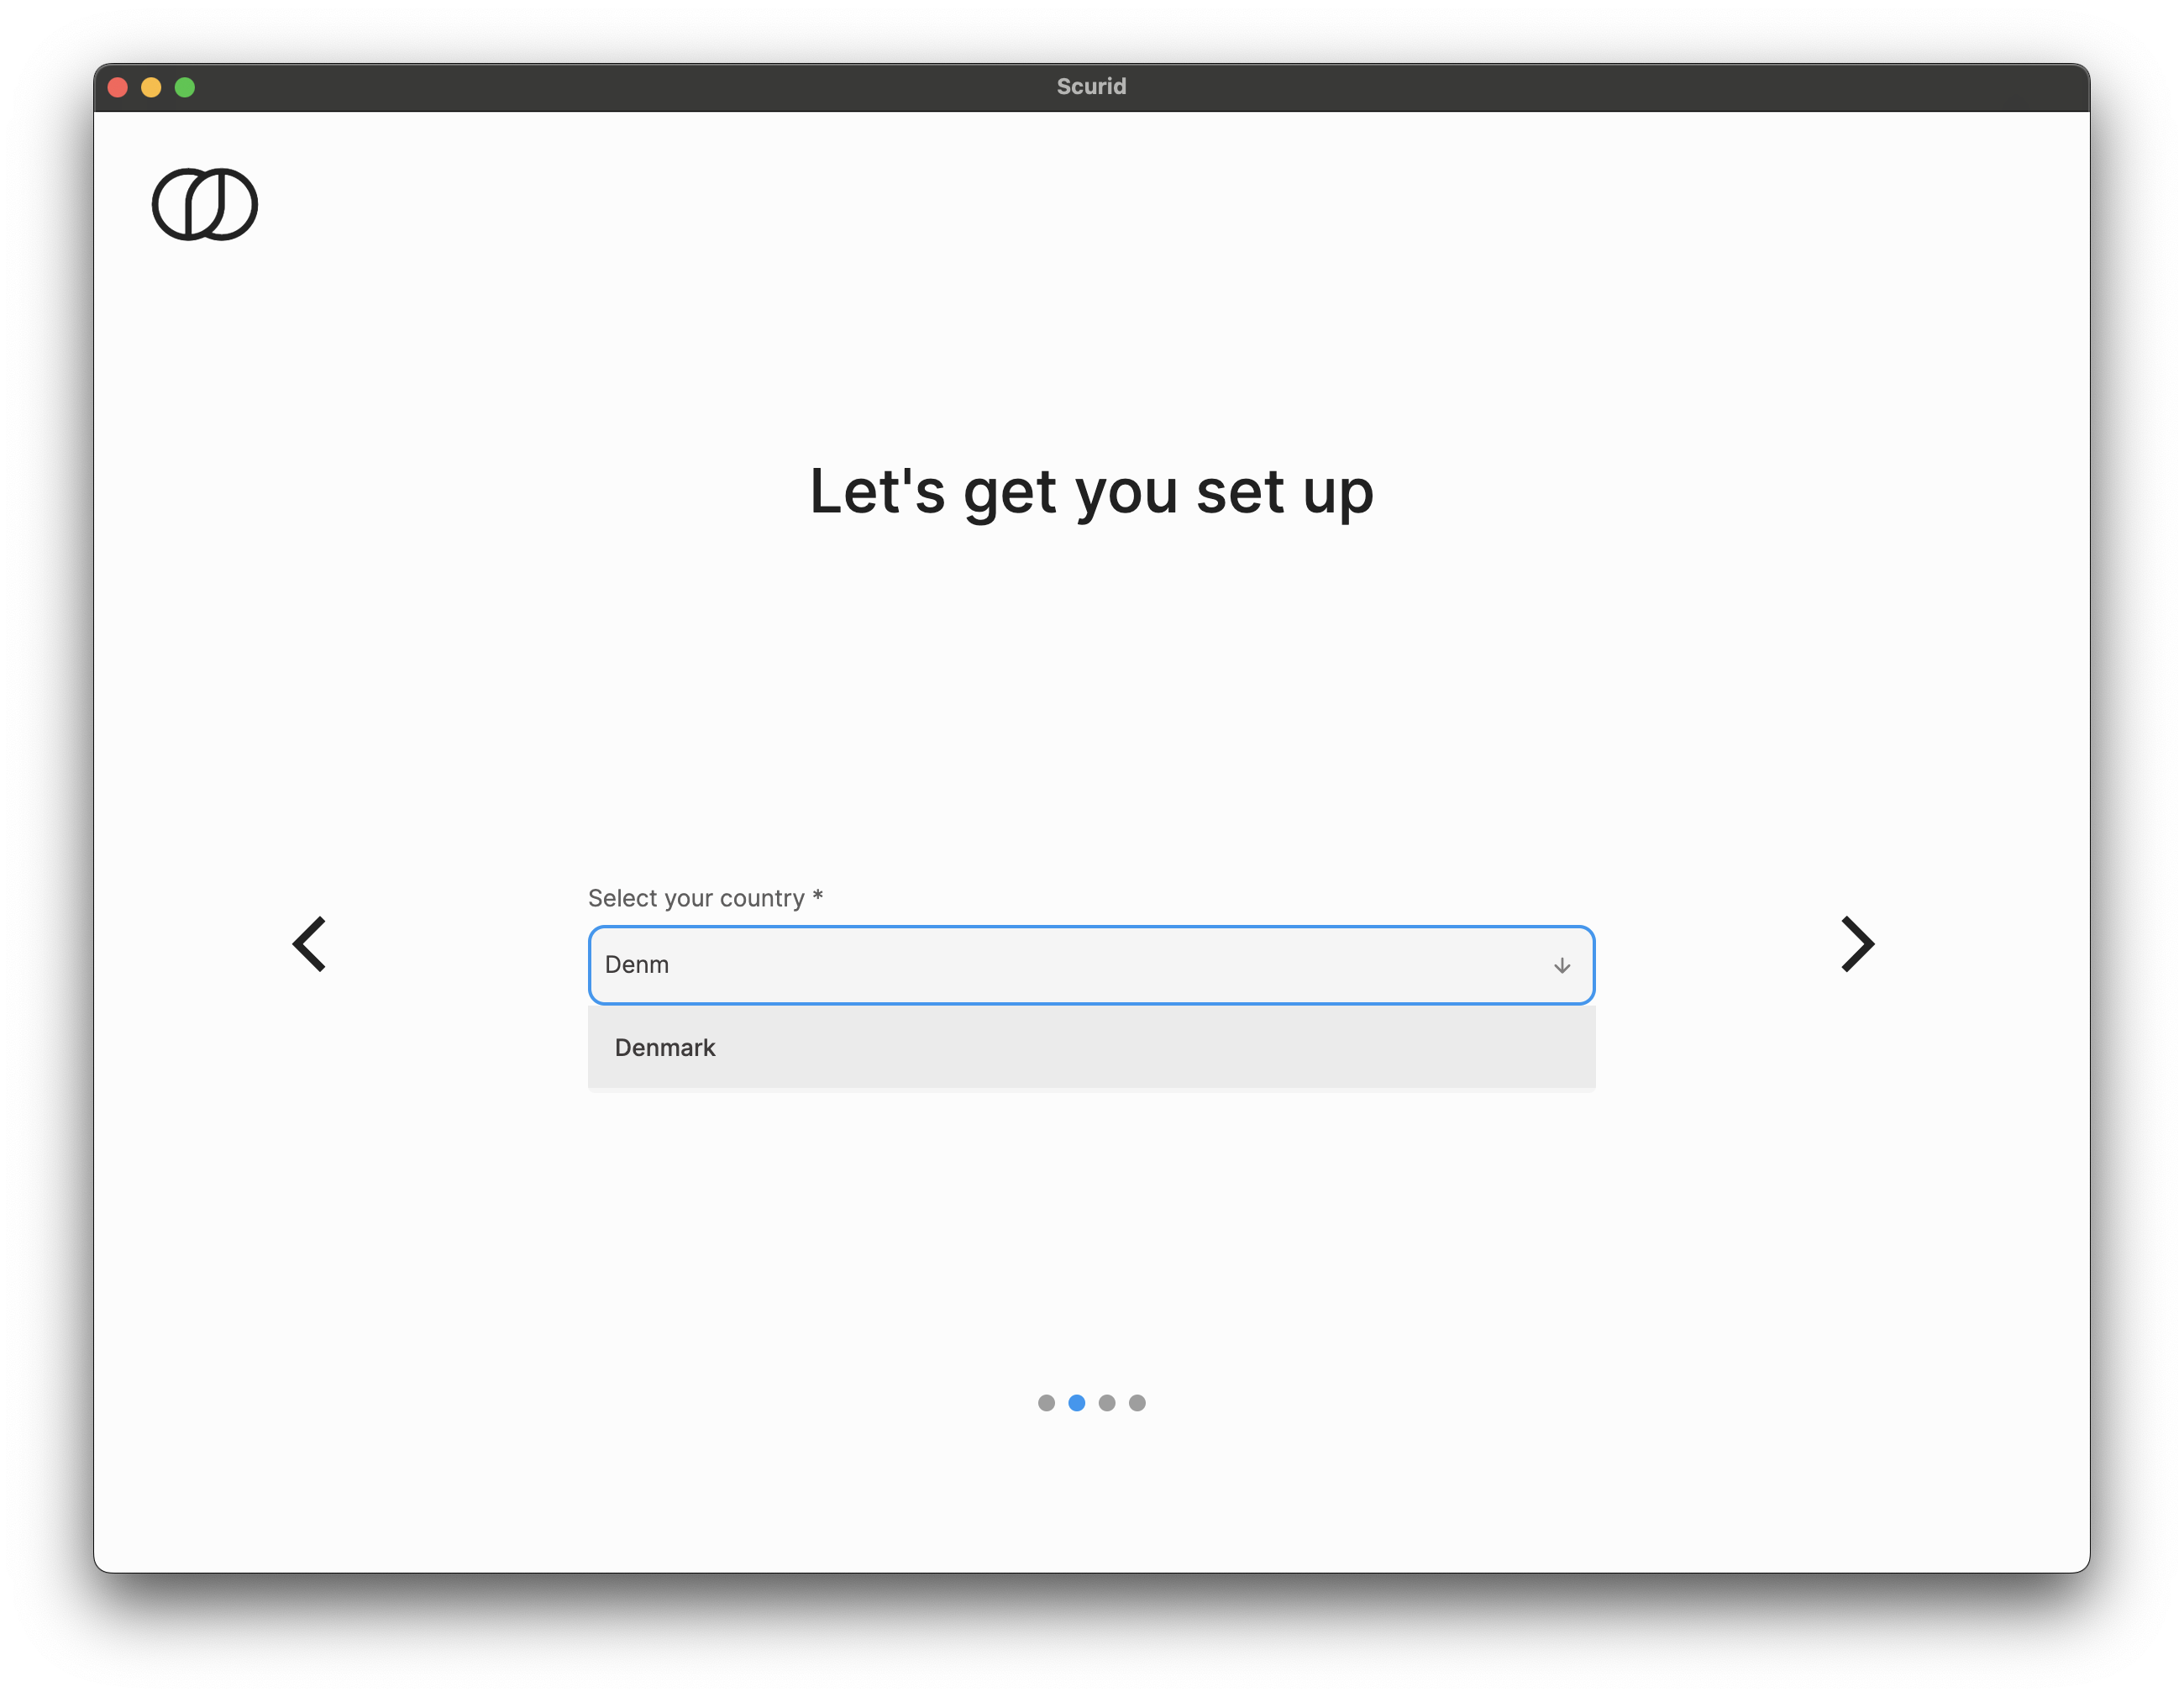
- Select your country,
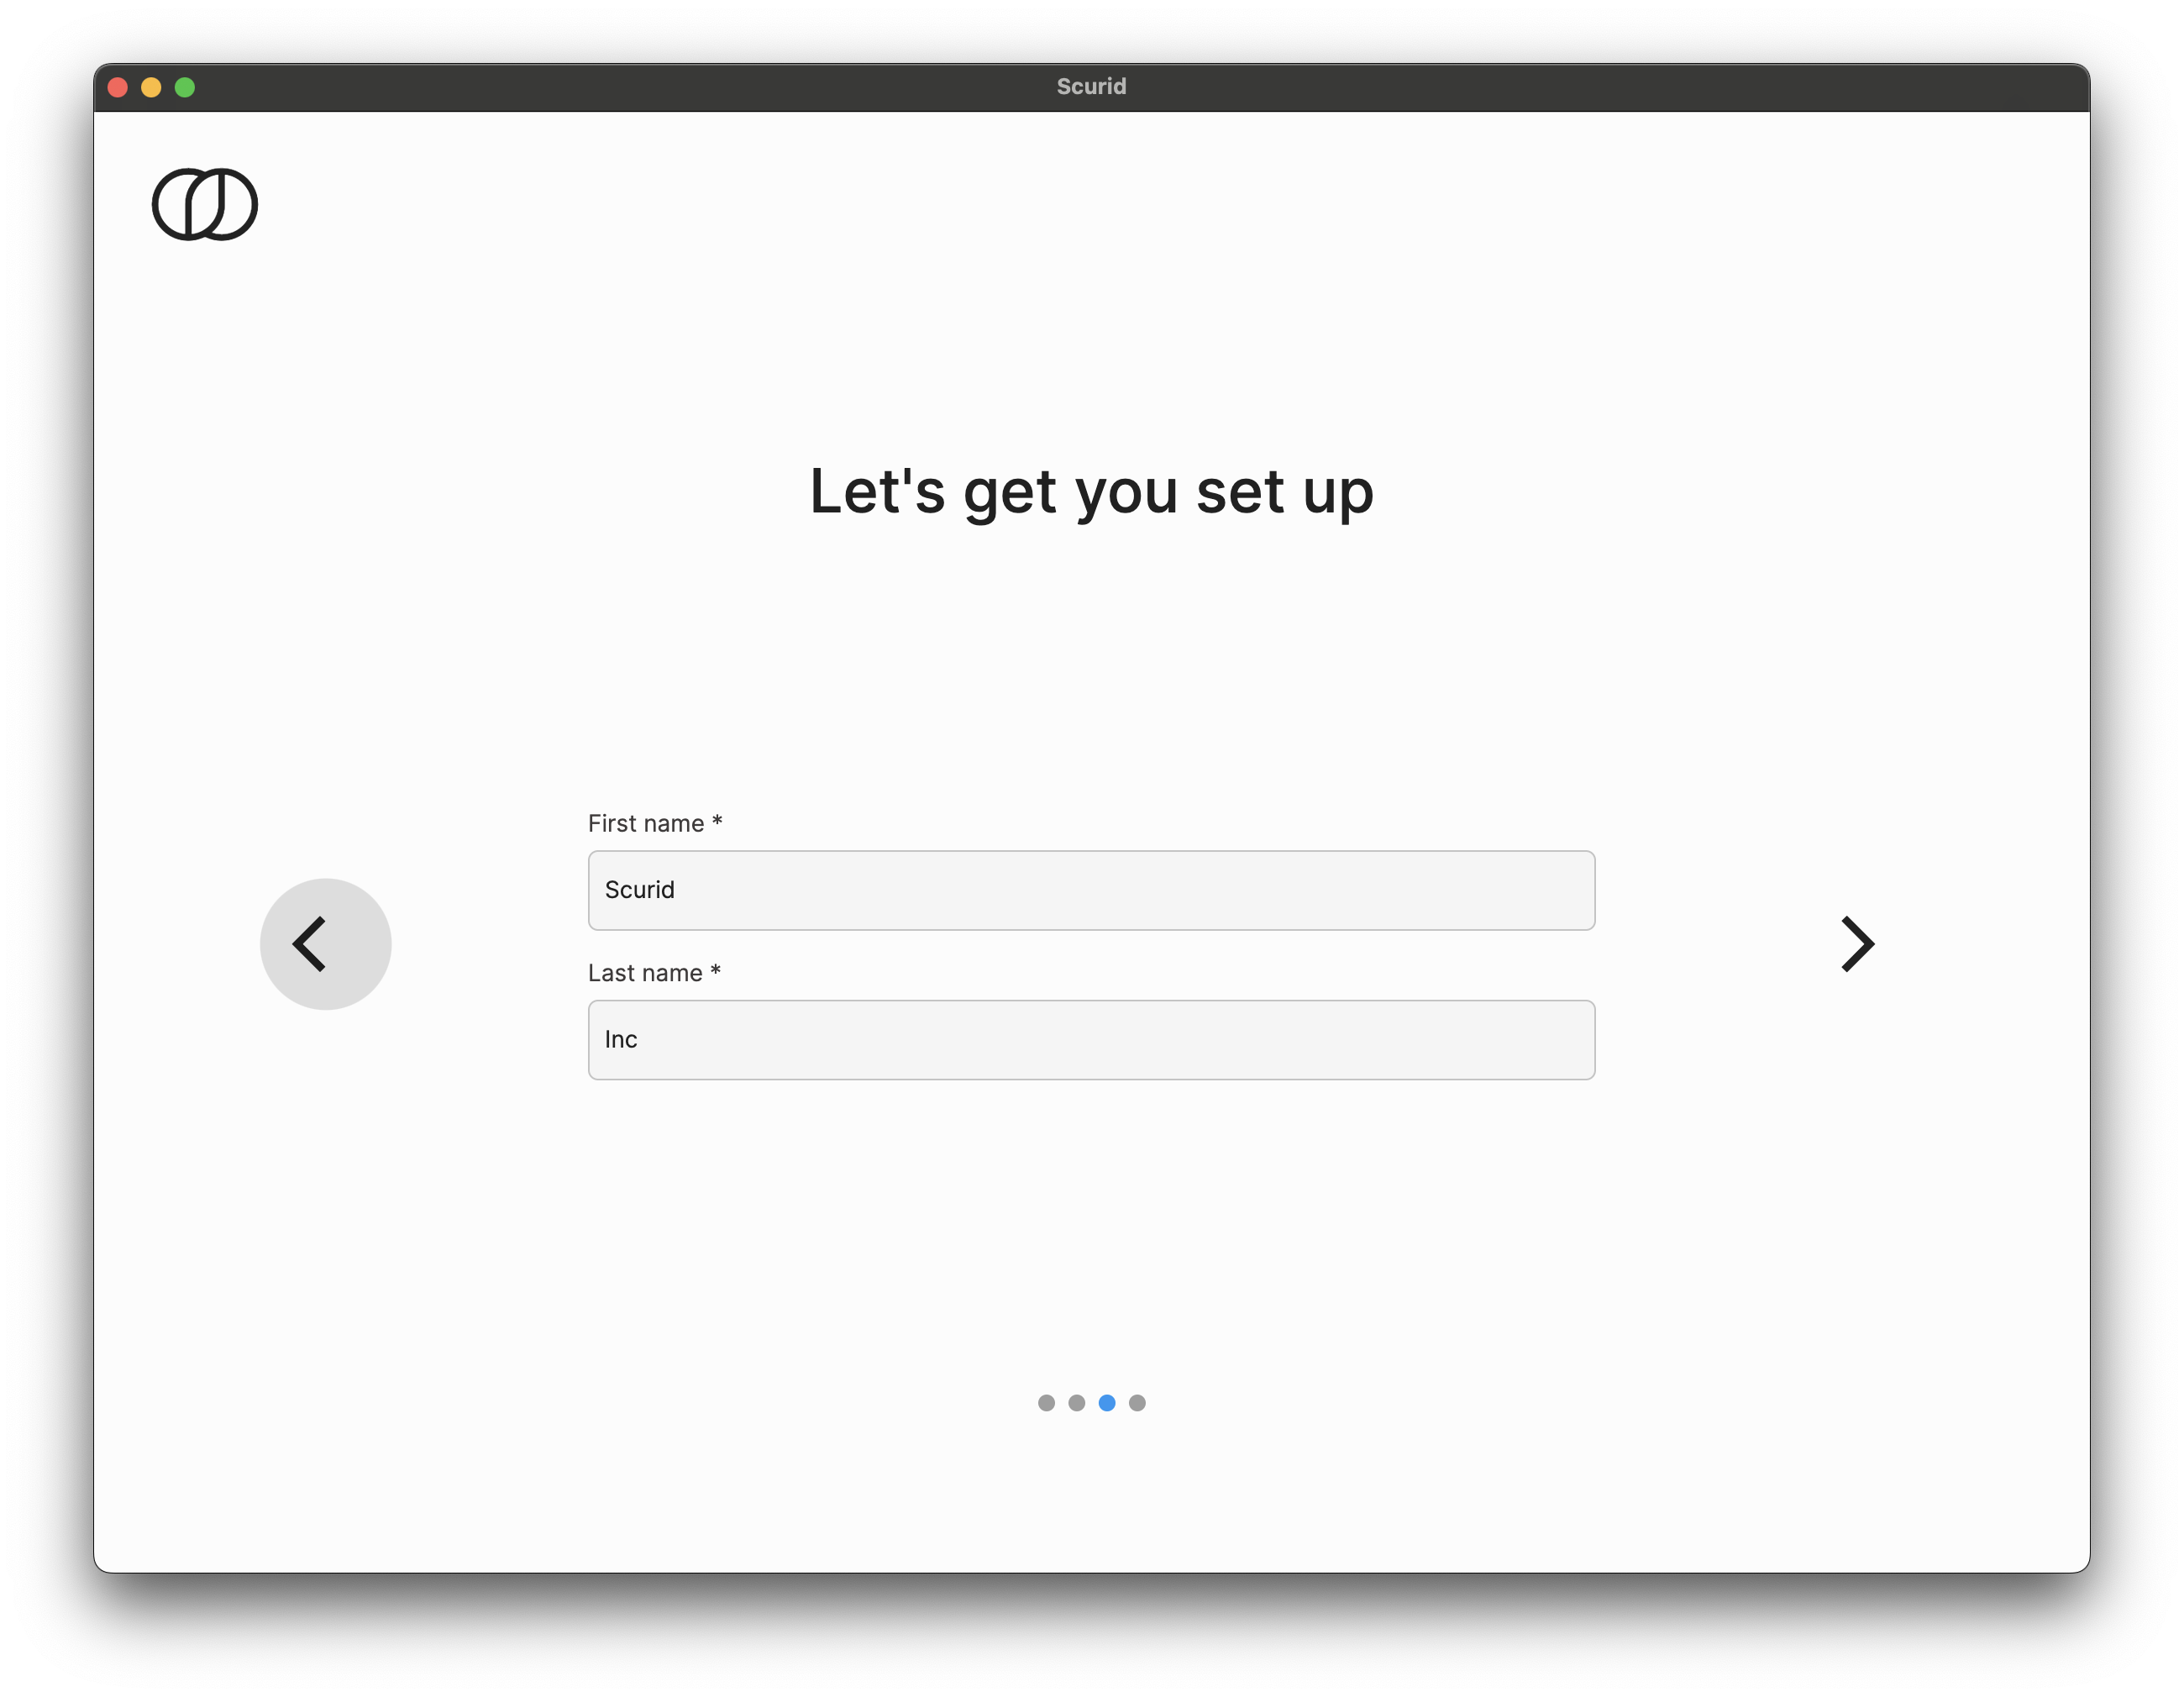
- Enter your name and click next
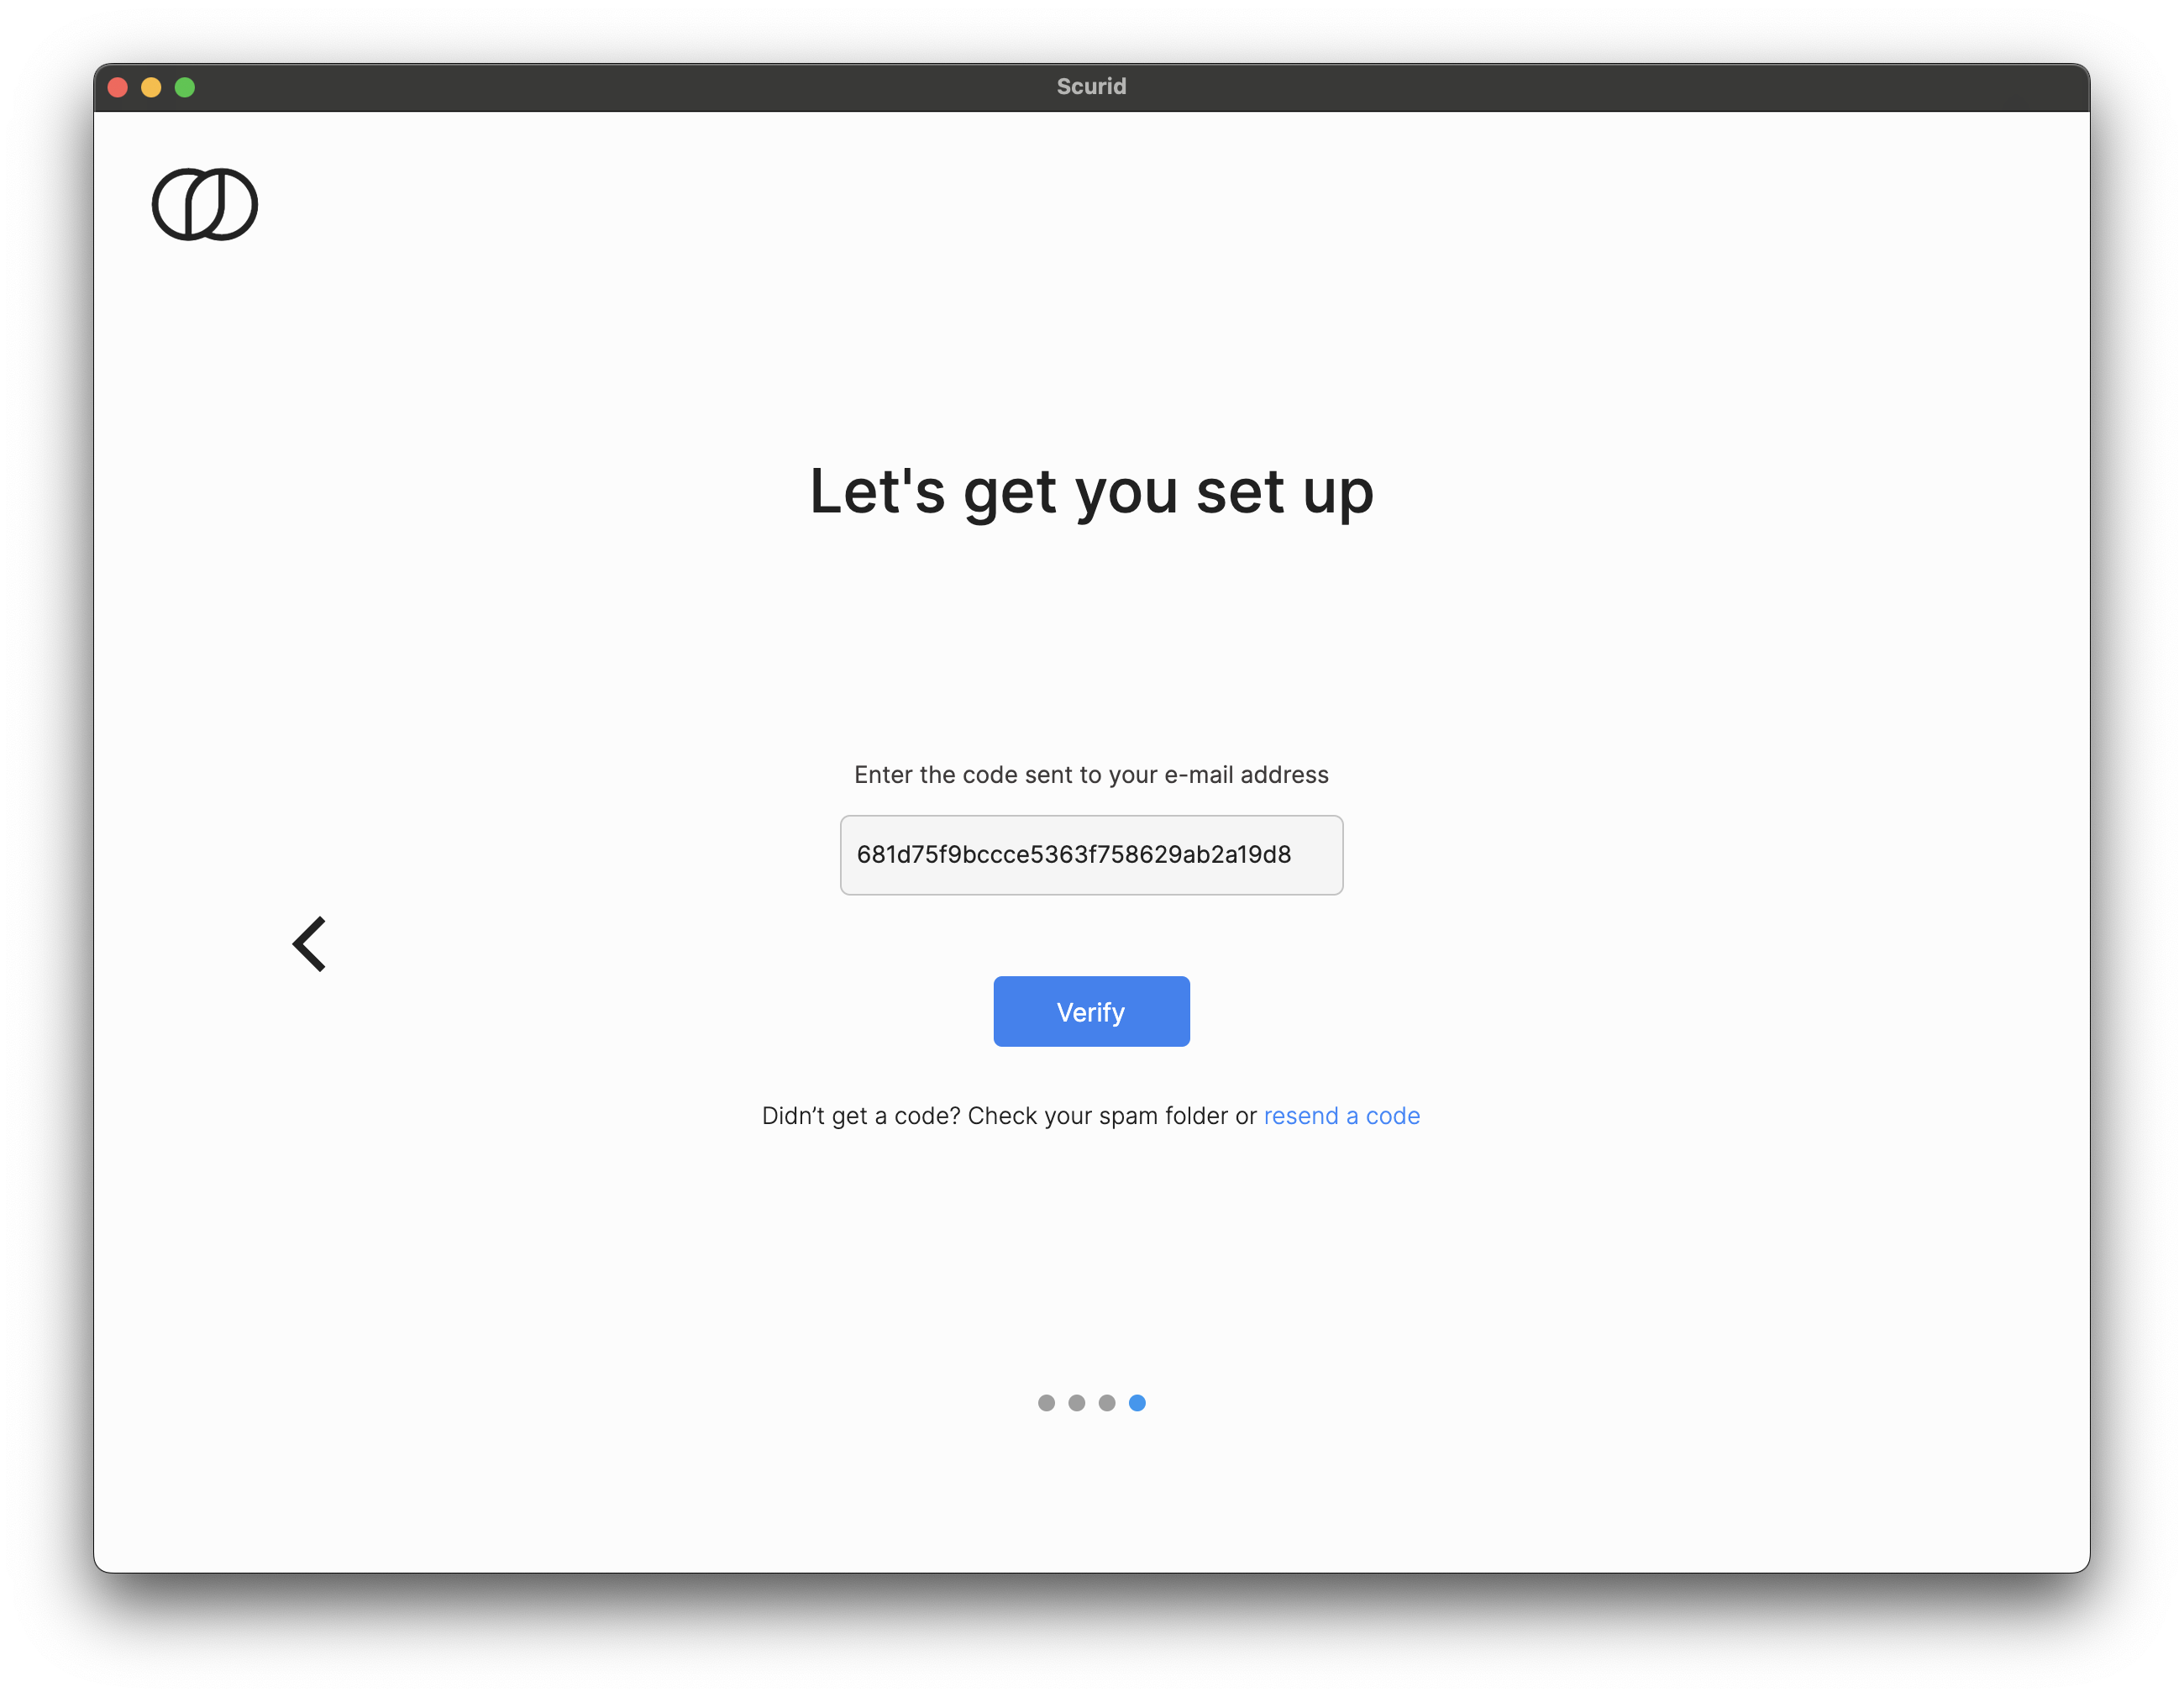
- Enter the code sent on your email, and click next
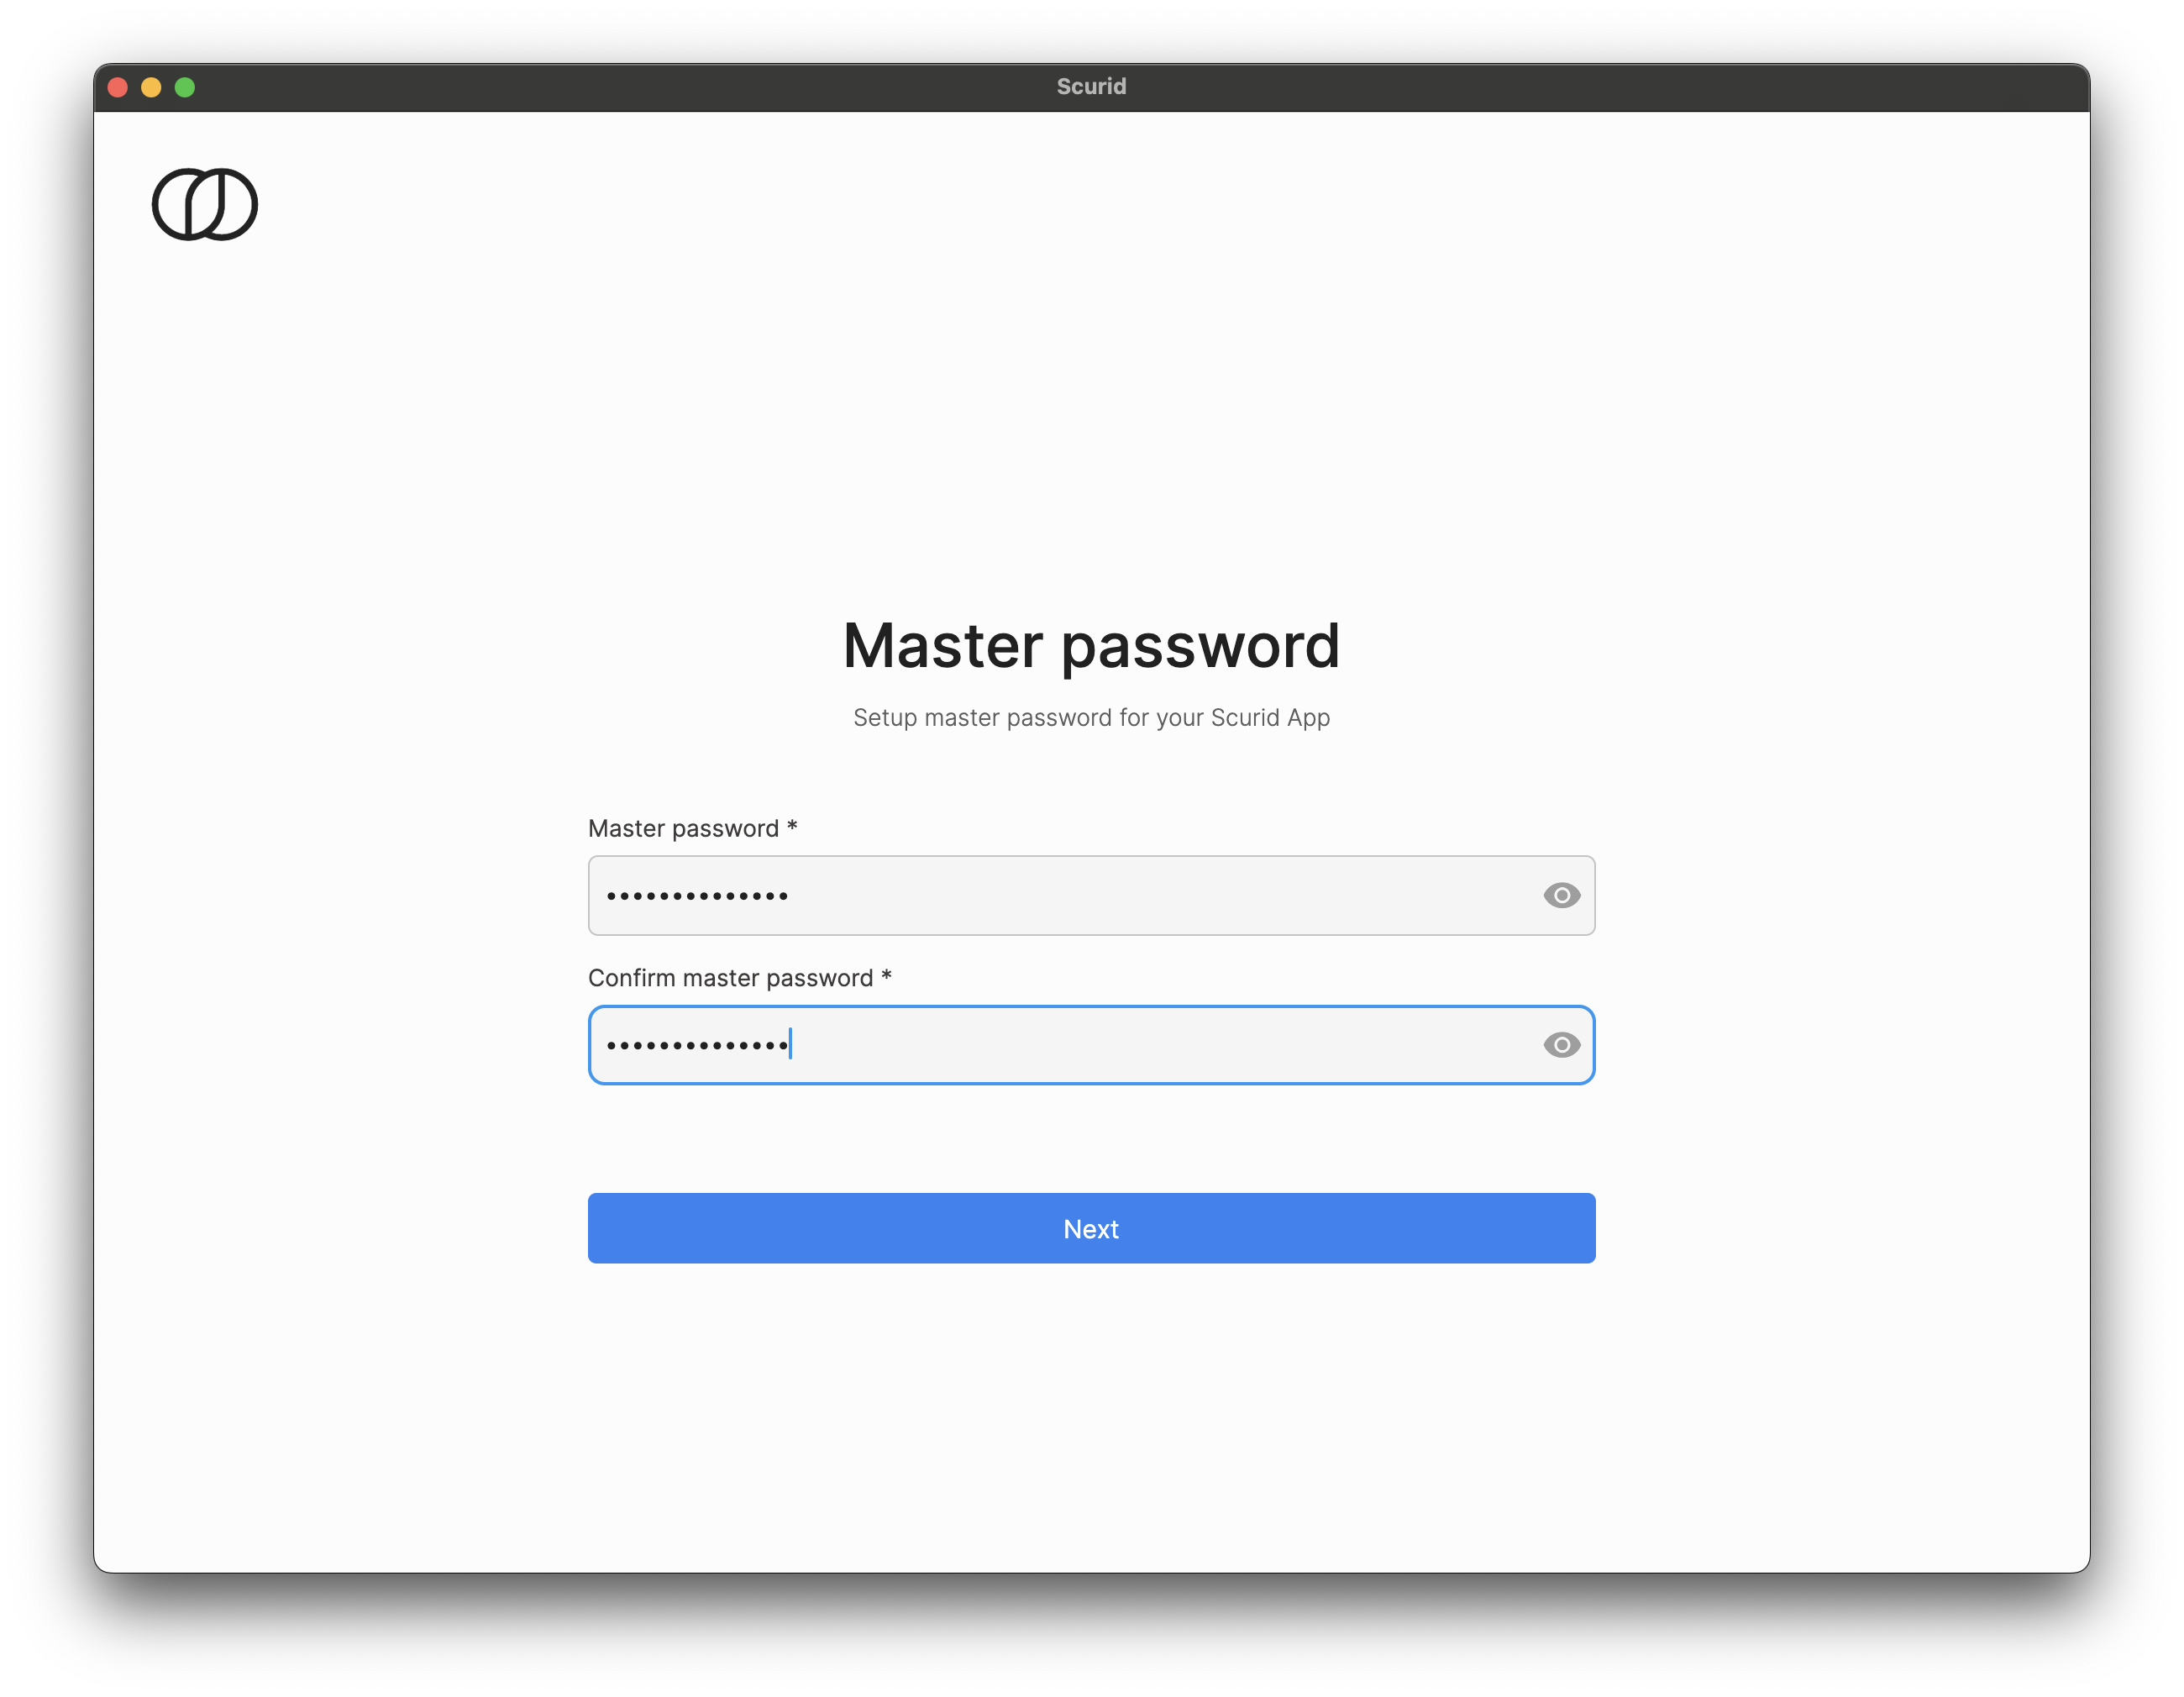
- Create a 13 character long master passphrase, and click next
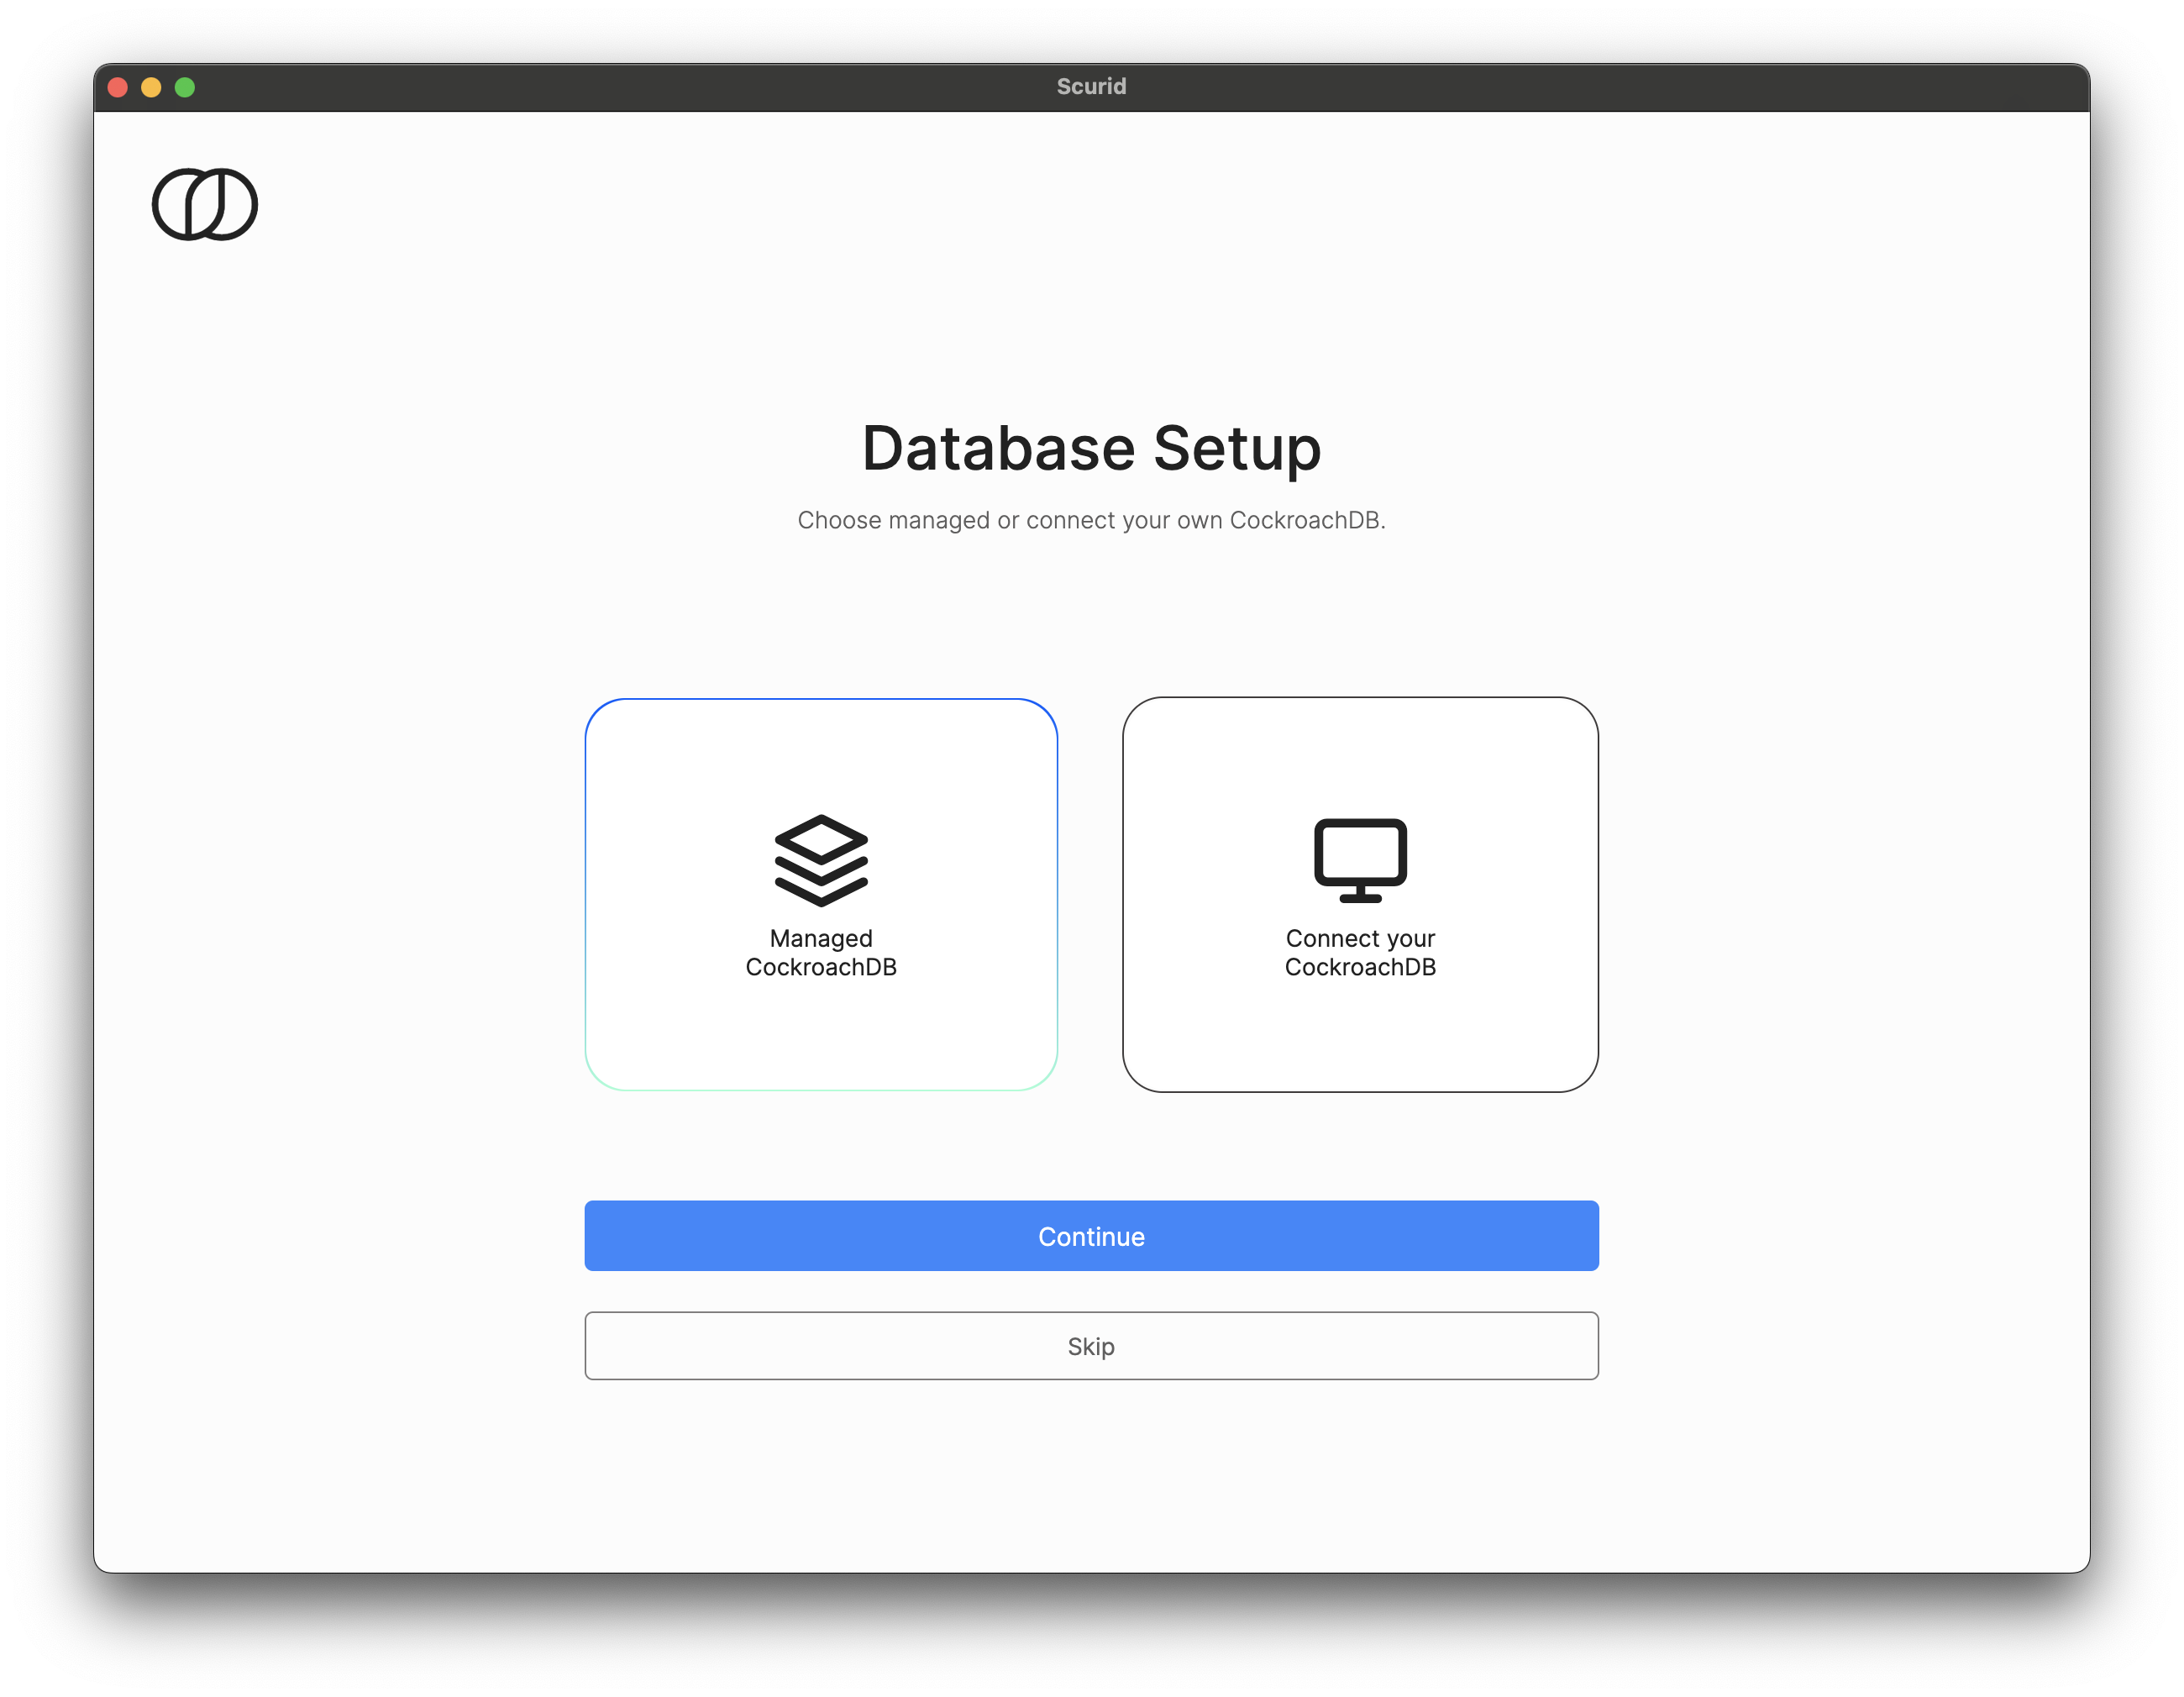
- We offer built in support for CockroachDB's Managed Serverless (perfect for PoCs and starter projects) or connect your own CockroachDB instance, or you can skip this step and configure it later.
That's it. You are now ready to start deploying agents and start creating new identities using them.
Step 3 : Deploying Scurid Edge Agent on your IoT hardware
Agent is a single binary, which can be easily configured to run as a service, on desired platform. It is a fully self-contained binary requiring no additional elements.
If you are downloading the agent for the first time on linux or related platform you may need to make the binary executable using
Example :
sudo chmod +x scuridedgeagent-linux-arm7
Execute the binary, ensure that the terminal is not closed if the agent is not configured to run as a service.
Example :
./scuridedgeagent-linux-xxx -spaaddr 192.168.1.232:443 -syncrate 30s