Quickstart
This page covers how to get started with Scurid Platform by downloading and setting up software elements to on required IoT hardware and the dashboard to manage it.
Scurid platform consists of three main components :
- Scurid Edge Agent
- Scurid Server
- Desktop App (mobile app coming soon)
You can use Scurid Platform in two ways :
- Managed deployment, where we host the Scurid server for you reducing your infrastructural overhead.
- On-Premise deployment, where you host the Server on your own infrastructure for complete control.
Note
If you are interested in Managed deployment, add your request here Support
Step 1 : Download and setup Scurid App & Backend server
Pre-requisite for Scurid App
- Ensure that the user running the application has sufficient rights to execute the application, you may have to make the app executable on linux. For that run
sudo chmod +x scurid_flutter
- Ensure the downloaded zip contains
data,lib,Scurid_App - For
linuxrun
sudo apt-get install libgtk-3-0 libblkid1 liblzma5
Scurid Platform app, is divided into two parts
a. Scurid App, which is a desktop native application for ID management, configuration & analytics. Download for your platform : here
b. Scurid Backend, is a server supporting the App functionalities and managing the communication with all the agents deployed in your IoT Ecosystem. Can be deployed on On-Premise or Managed
- Download the binary for your platform from here
- Create a config folder accessible by the binary, and create config.yaml file, with following
ServerCert: CommonName: example.com Country: JP Province: Tokyo Locality: Tokyo Organization: Example Inc OrganizationalUnit: Software Team EmailAddress: info@example.com LifetimeDays: 30 SubjectAlternativeNames: - "*.yourcompany.com" CertStorageDirectory: certs Monitoring: Port: 8081 #default Address: localhost #default - Open a terminal and execute the binary
./service-beta-vX.X.X-linux -config config/config.yaml
./service-beta-vX.X.X-darwin -config config/config.yaml
.\service-beta-vX.X.X-win64 -config config/config.yaml
Contact us to setup an instance for you.
Step 2 : User On-boarding
This steps sets up the server and certain configurations that are needed in order to complete the user on-boarding process.
- Launch the Scurid App, downloaded in Step 1
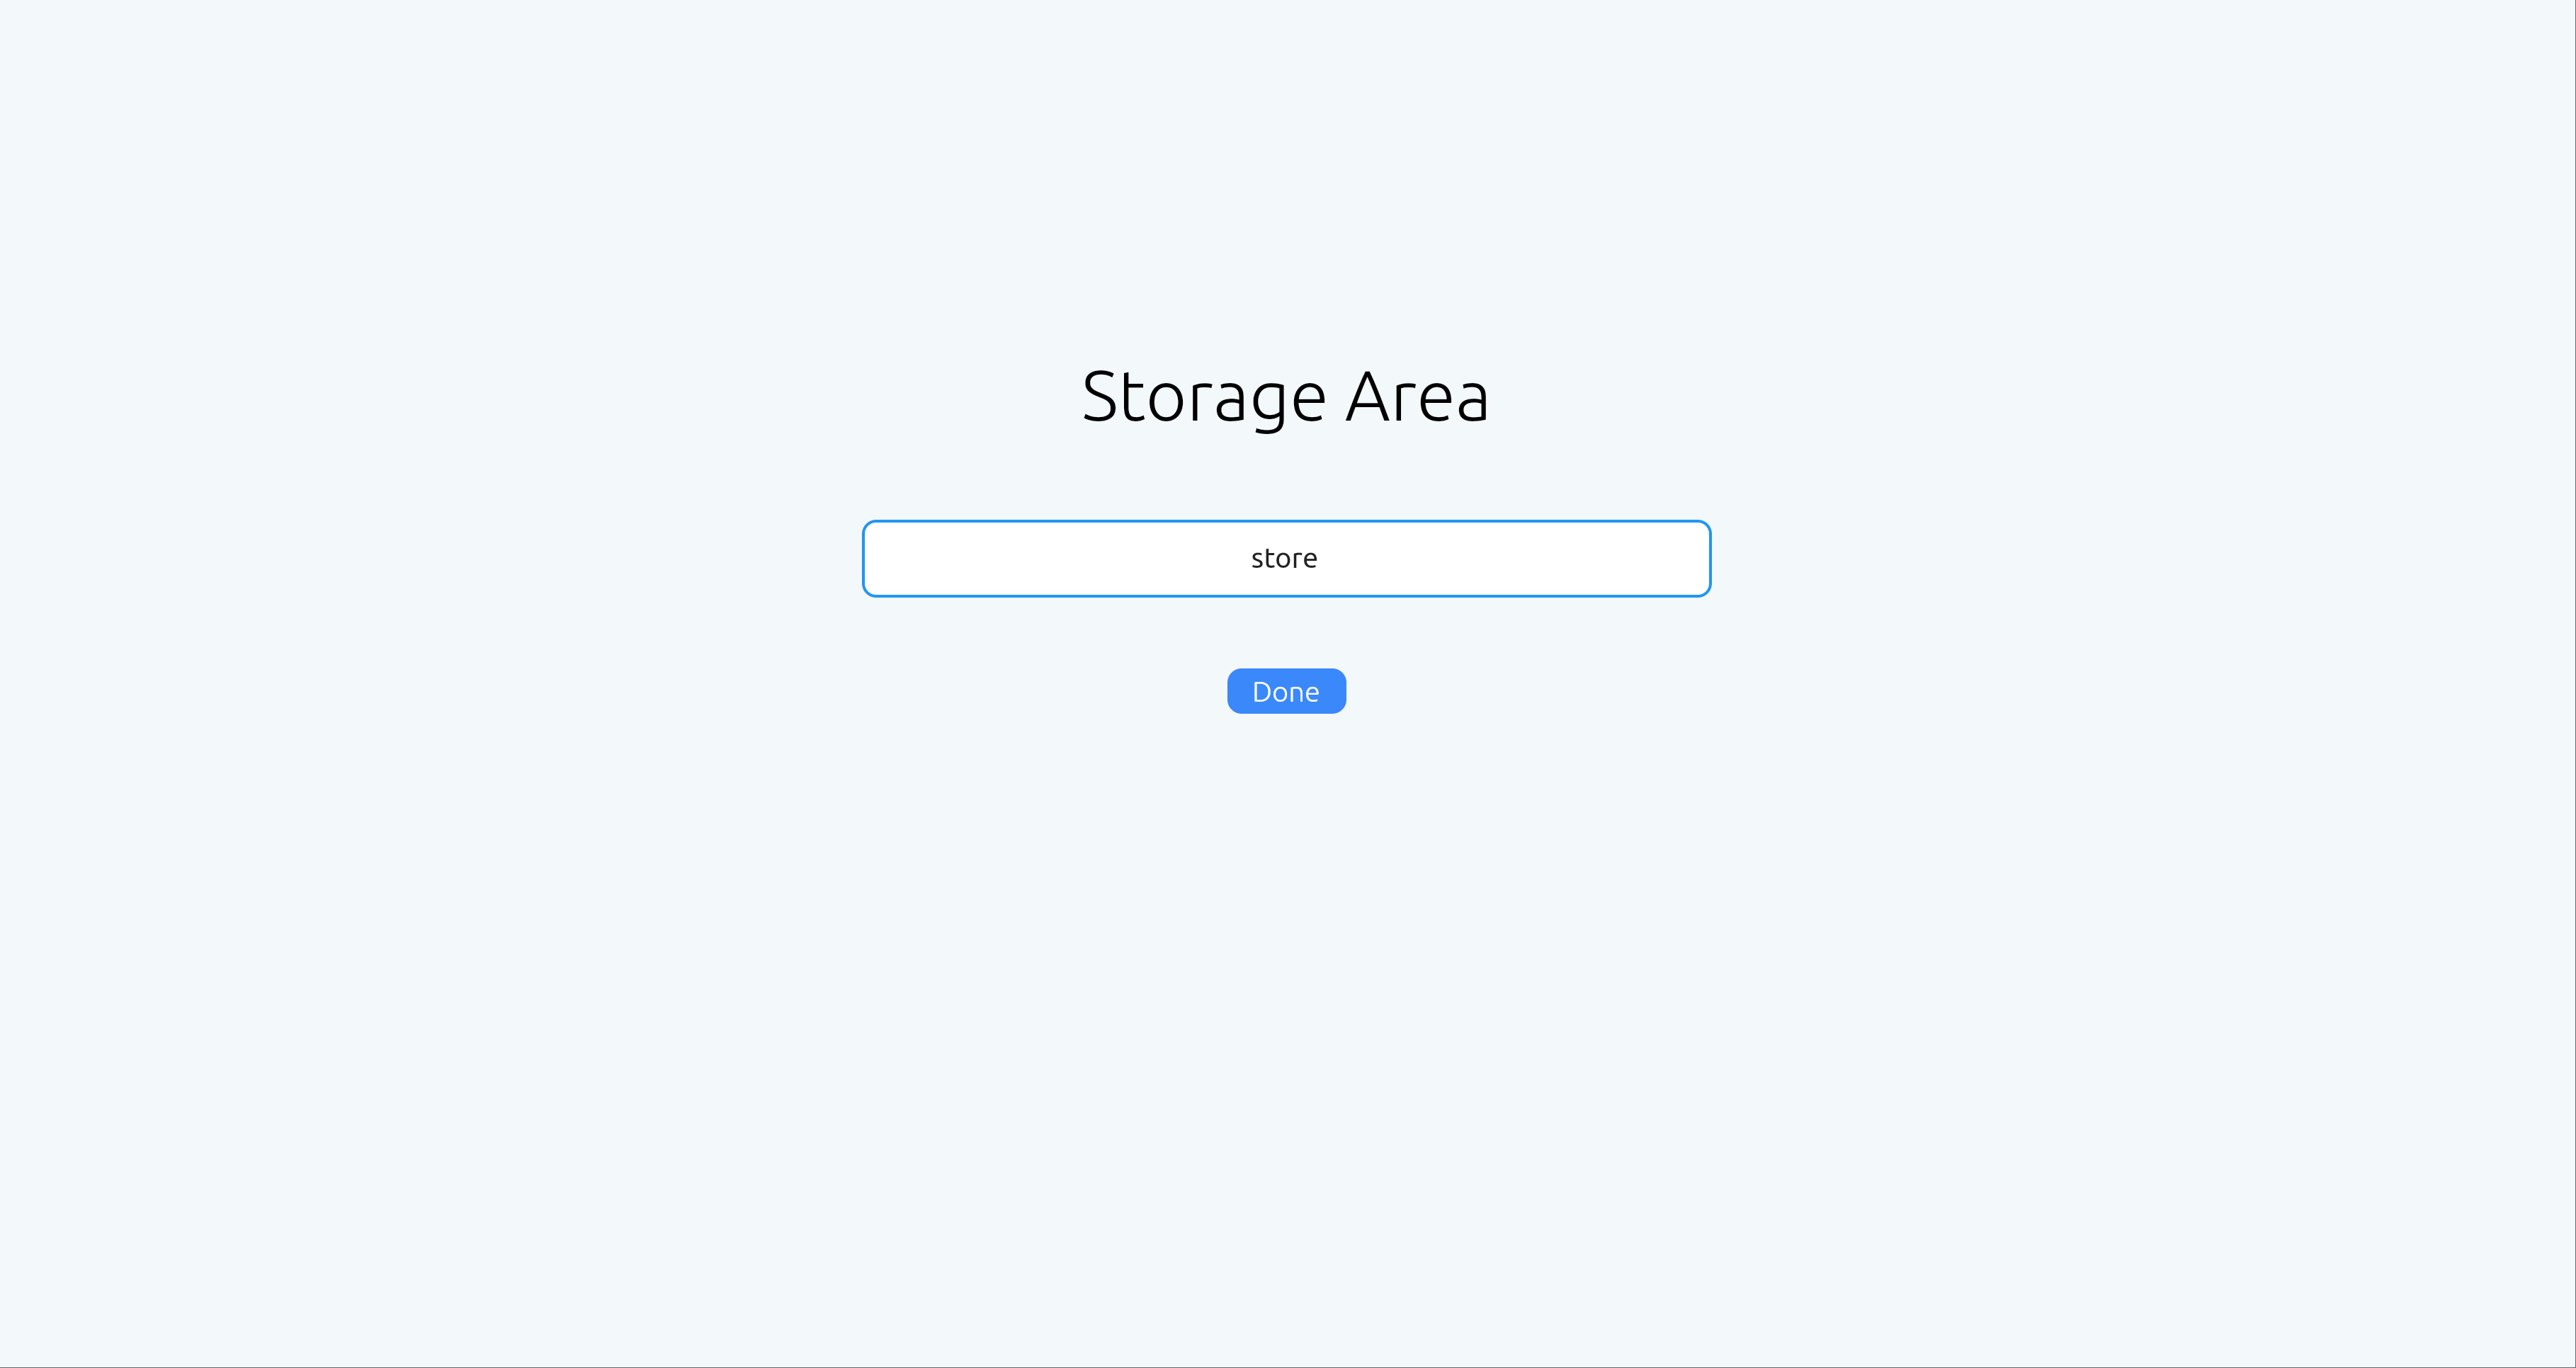
- Setup the local storage area for the app,

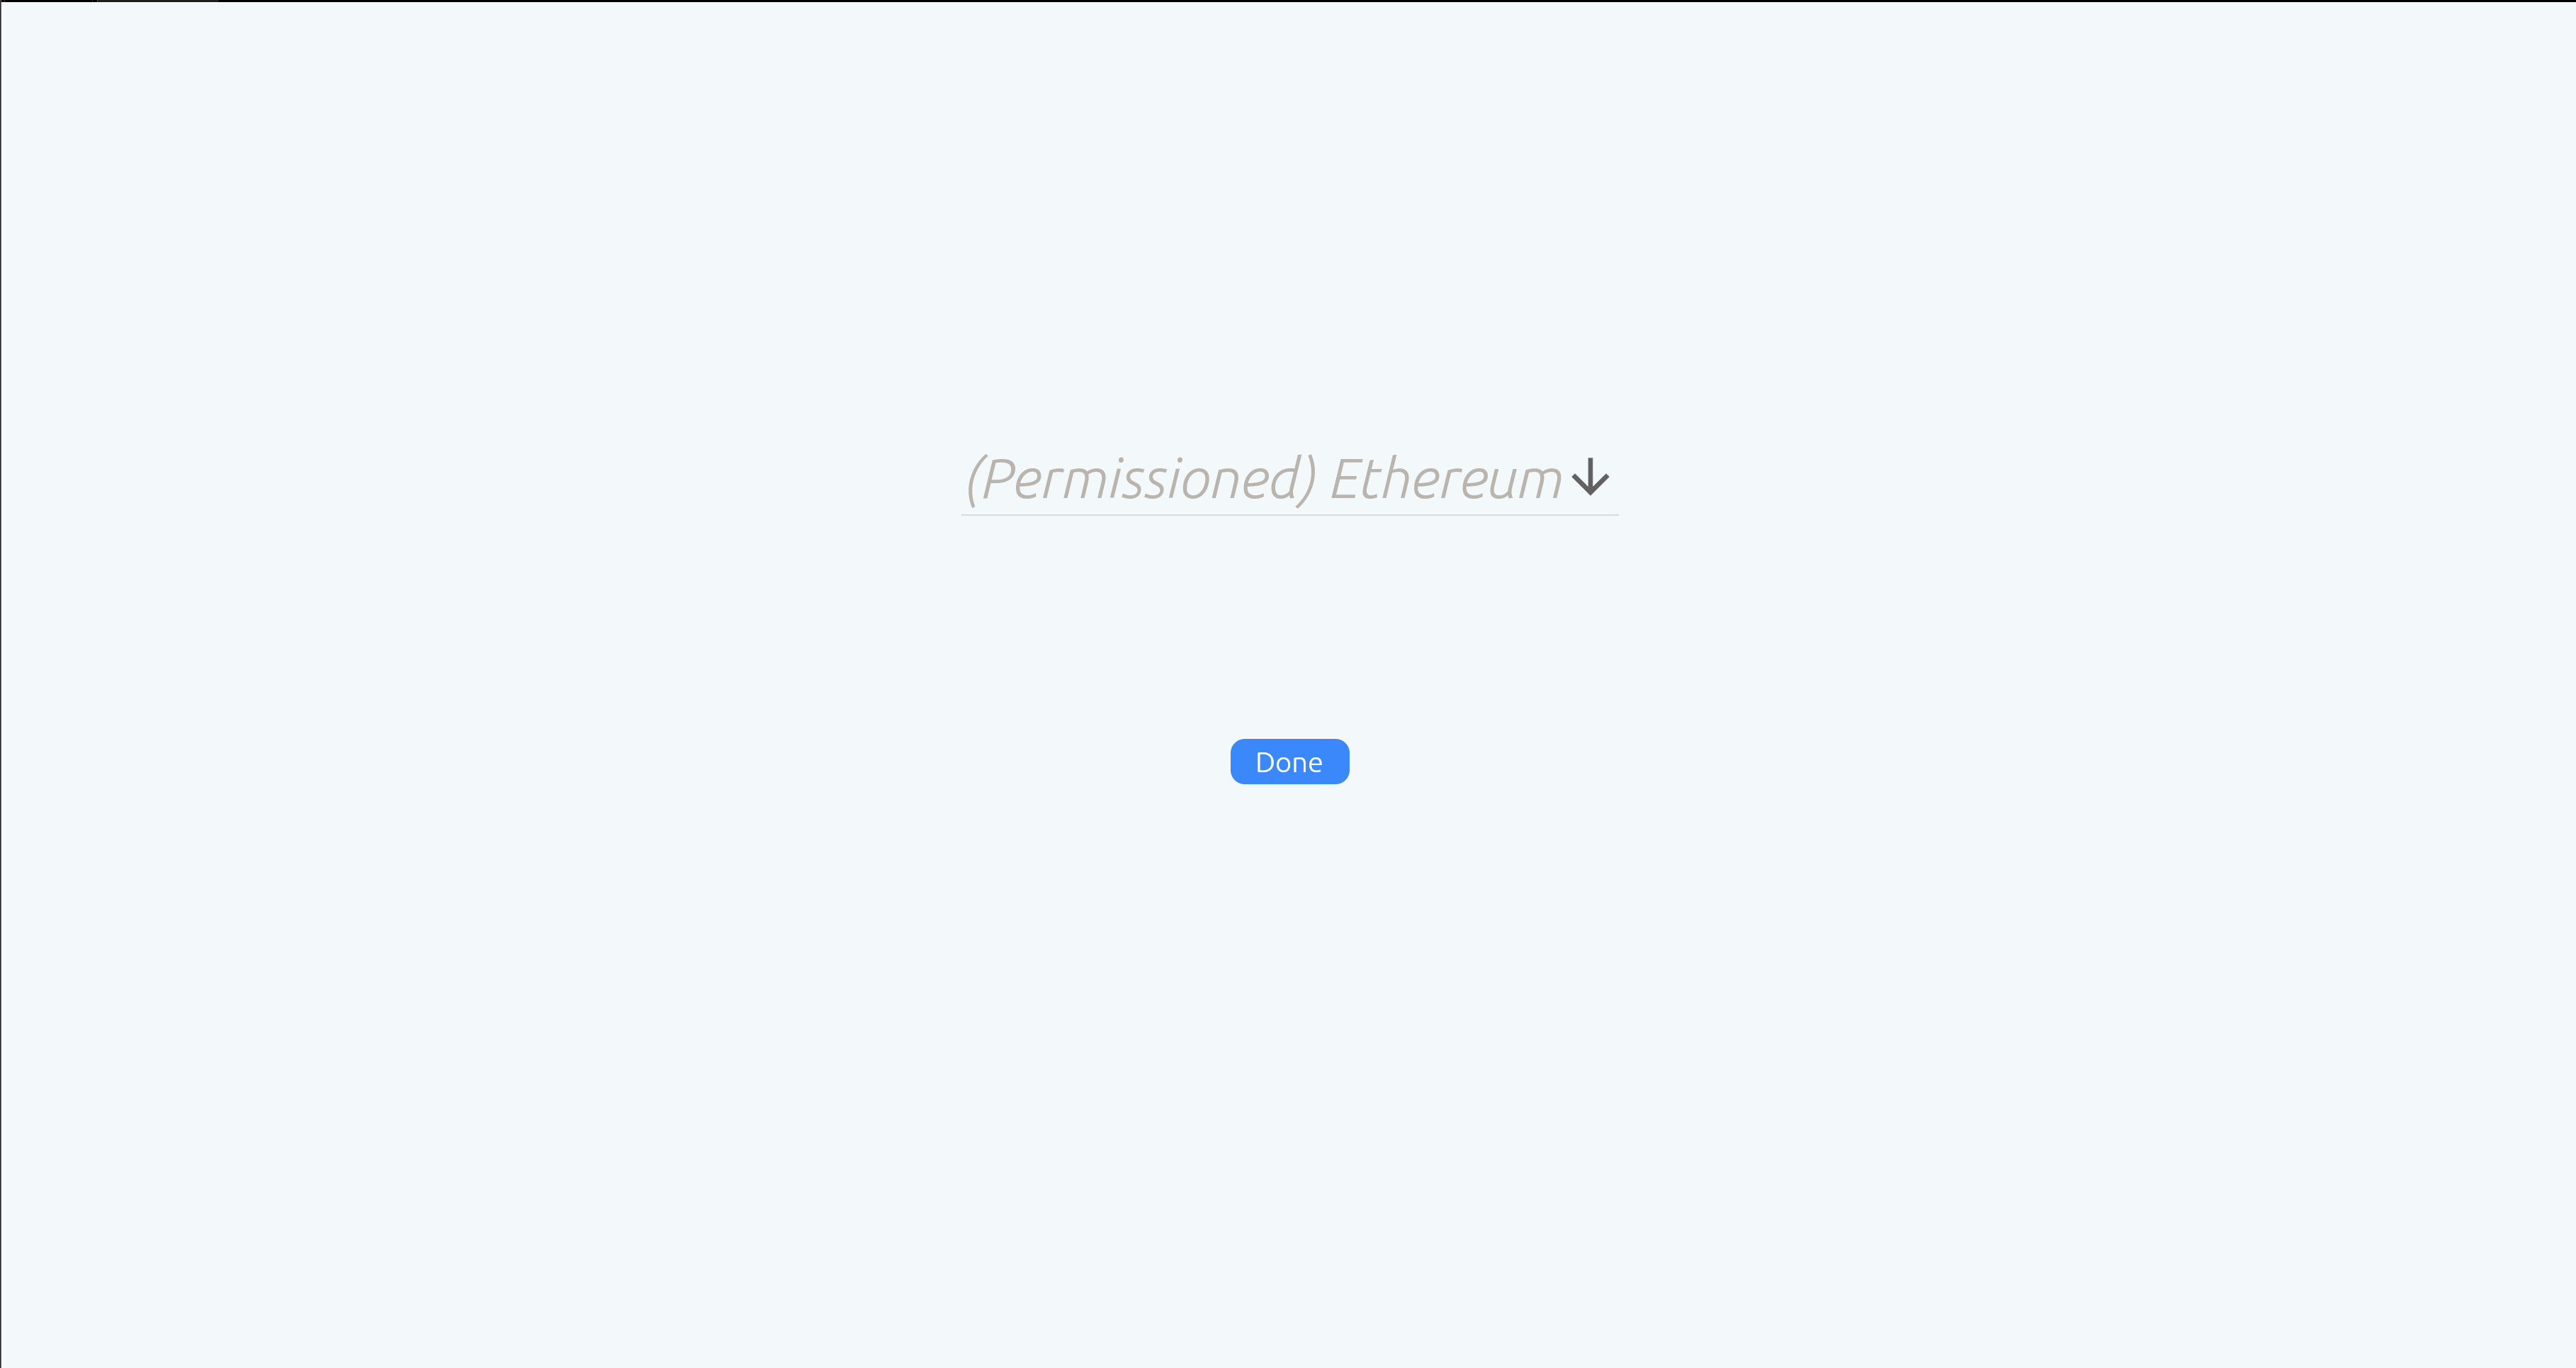
- Select available permissioned distributed ledger supported by Scurid, currently only Ethereum Clique is supported

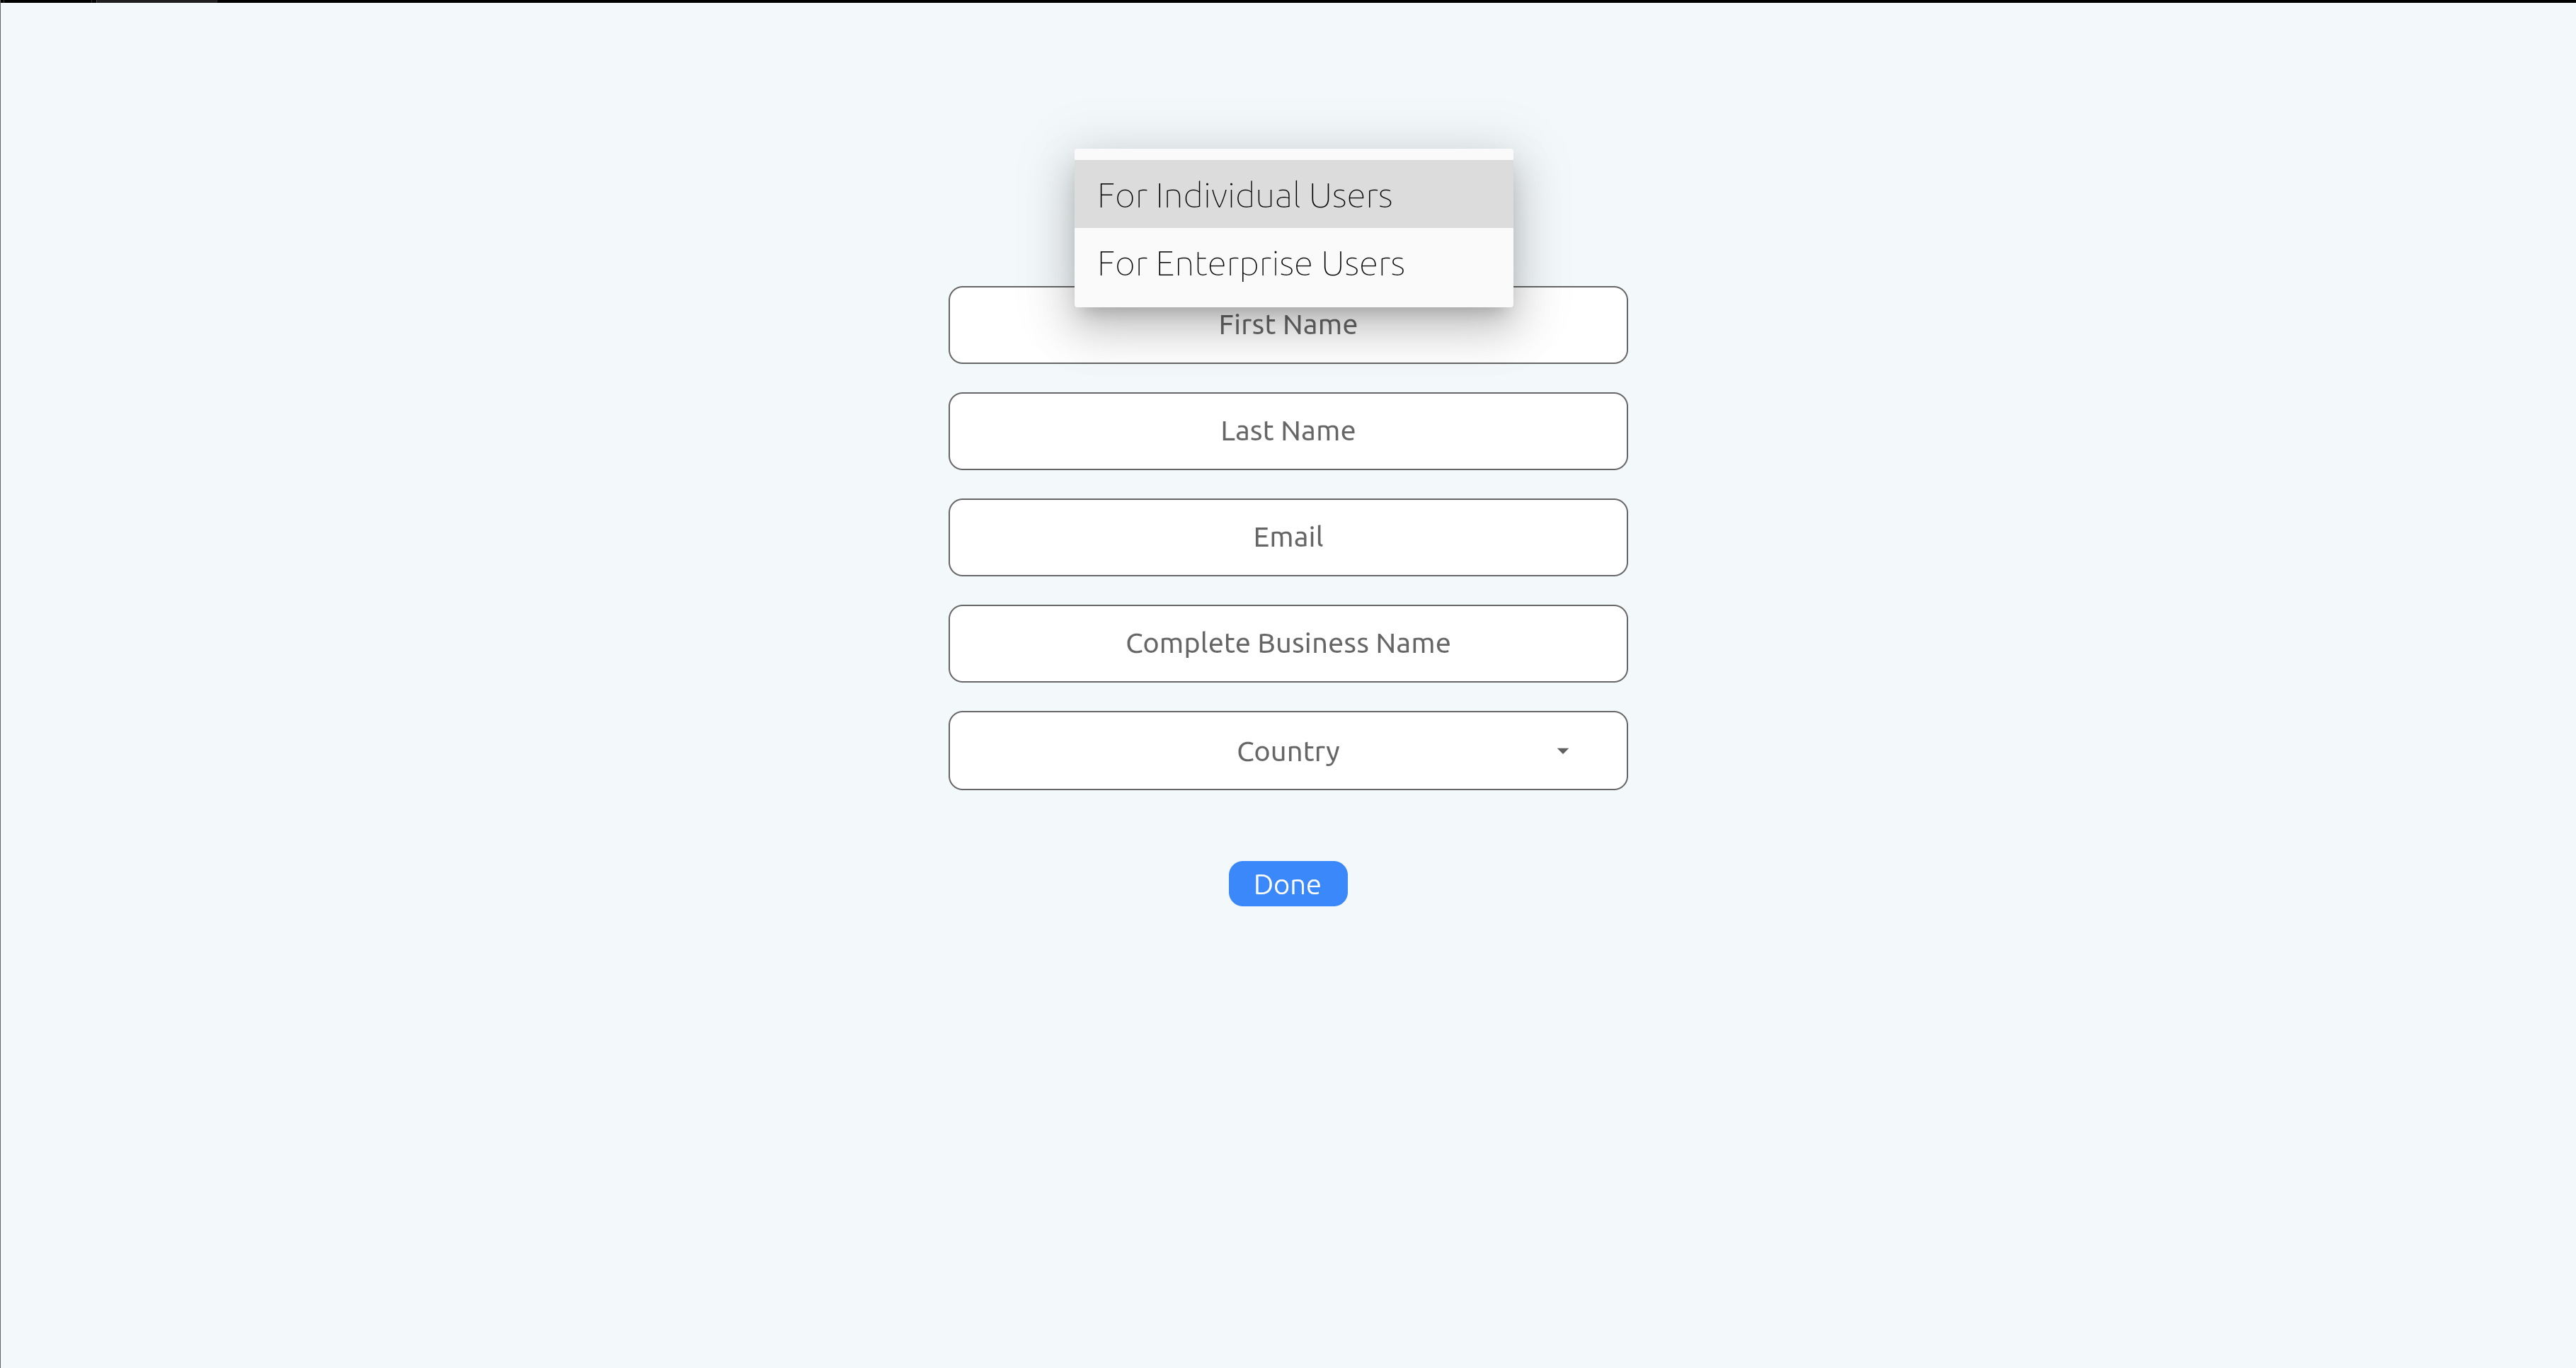
- Select the user type

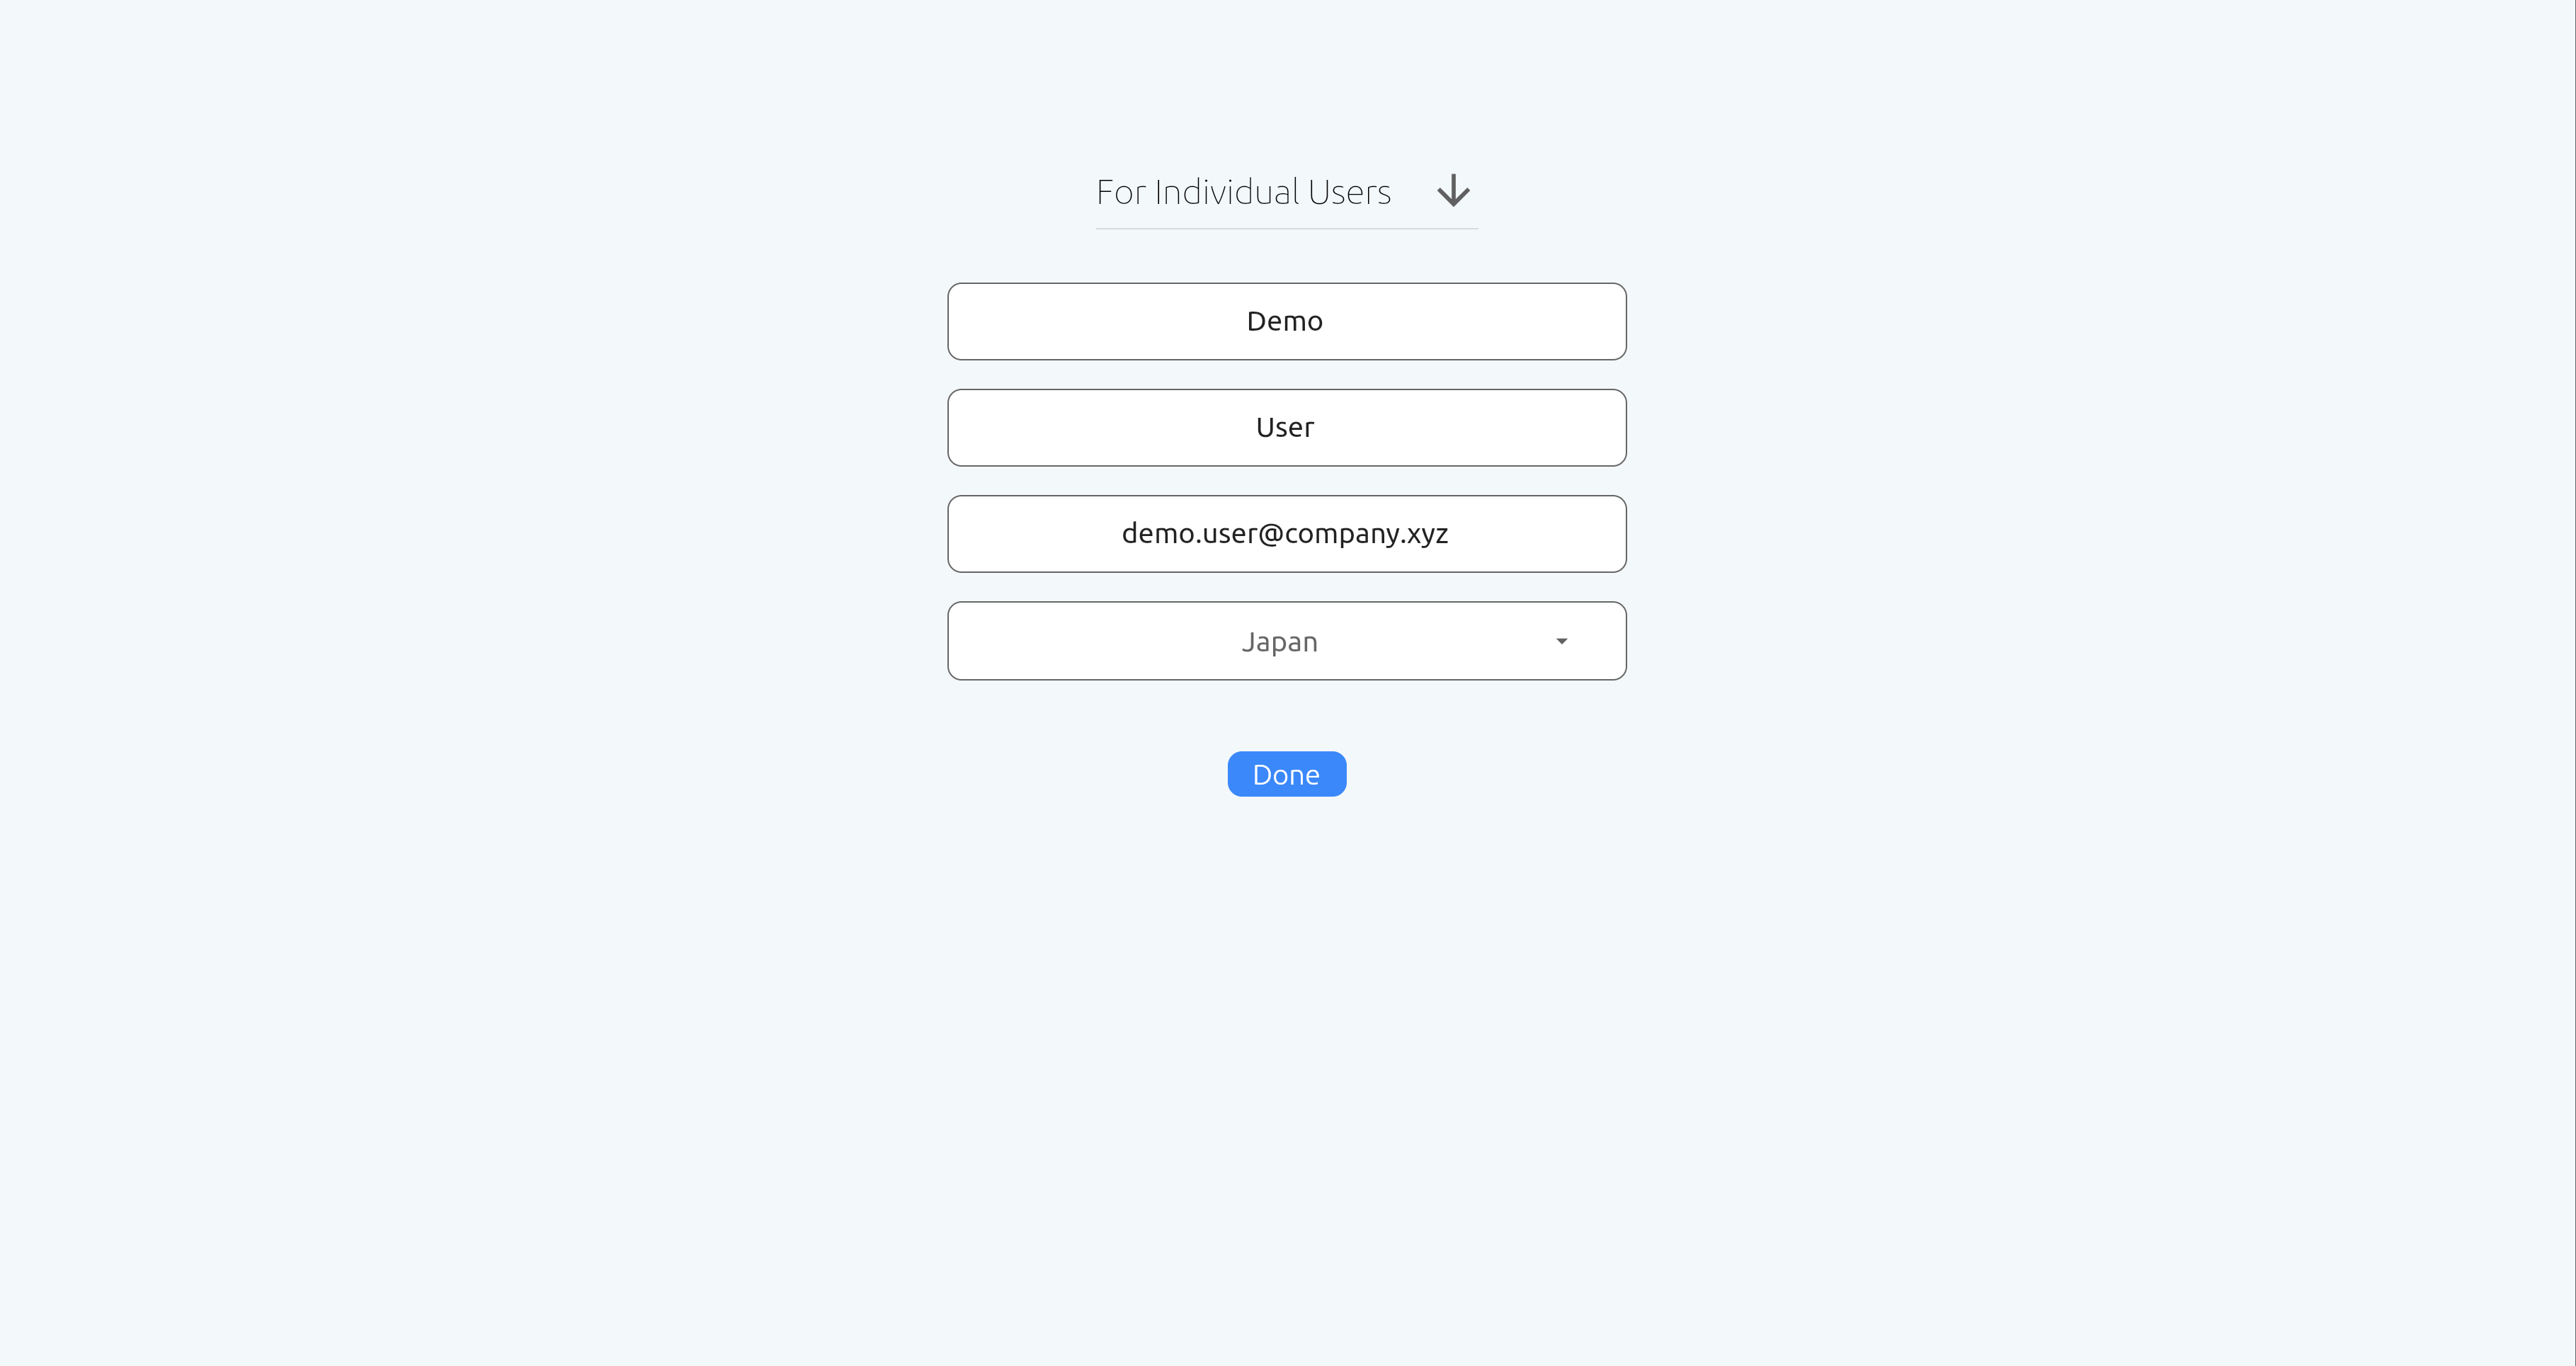
- Complete the form and continue, this may take a few seconds to finish. This will set up your account with our services esp. Scurid SSI service using the public/private key which is automatically setup for you by the Scurid backend. This public/private key will be used for authenticating your account with us.

- Once completed, navigate to the home page with Direct connectors

- This allows complete overview on the agents that are deployed in your network and the identities created using those identities

That's it. You are now ready to start deploying agents and start creating new identities using them.
Step 3 : Deploying Scurid Edge Agent on your IoT hardware
Agent is a single binary, which can be easily configured to run as a service, on desired platform. It is a fully self-contained binary requiring no additional elements.
If you are downloading the agent for the first time on linux or related platform you may need to make the binary executable using
sudo chmod +x scuridedgeagent-linux-arm7
Execute the binary, ensure that the terminal is not closed
./scuridedgeagent-linux-xxx
If you do require to close the terminal you can run the service in the background and then disown , e.g.
./scuridedgeagent-linux-arm7 &
disown
The agent by default logs out some of the default configurations like the port details etc., additionally the agent starts listening on localhost